Tag: Technical (page 2 of 5)

Motorhome Tool Kit

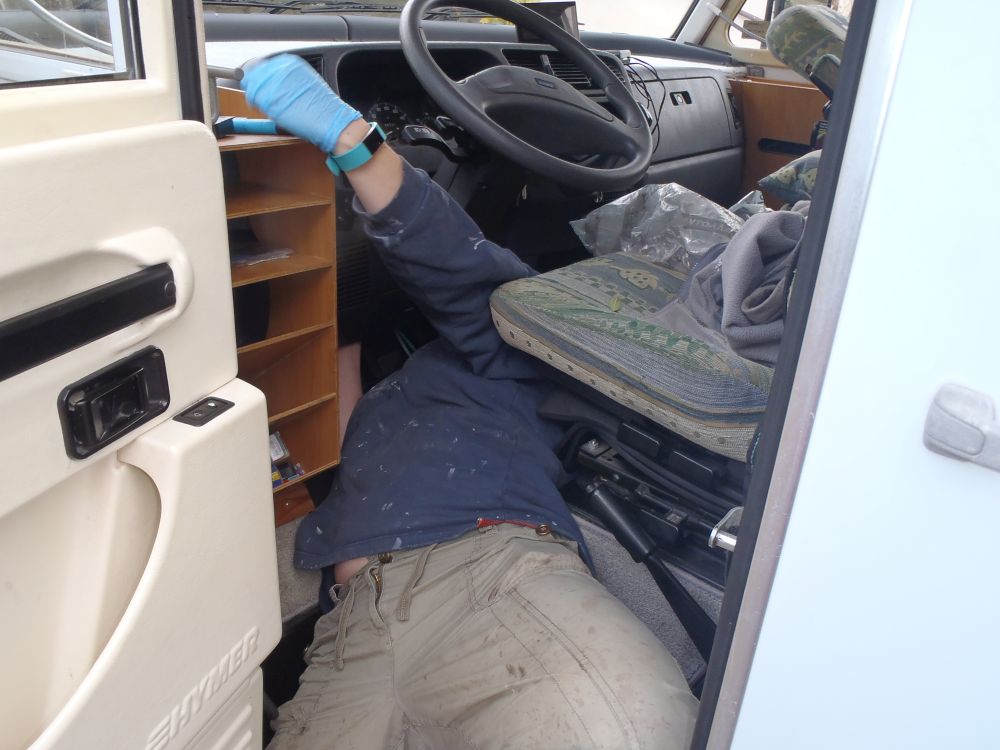
Our Motorhome is now over 20 years old, and when we travel we are obviously reliant on it for both travel and accommodation! Accidents happen, things wear out, and stuff breaks – usually at the most inconvenient moment! In order to ensure you can cope with most dramas on the open road it pays to have a decent tool kit with you, but with space and payload at a premium it is a fine balancing act to find a useful enough set of kit without packing the whole van out with a full garage load of equipment……

This is what I travel with, it’s a self contained Magnusson tool kit I picked up from Screwfix, or Toolstation…..or somewhere – I can’t remember exactly!

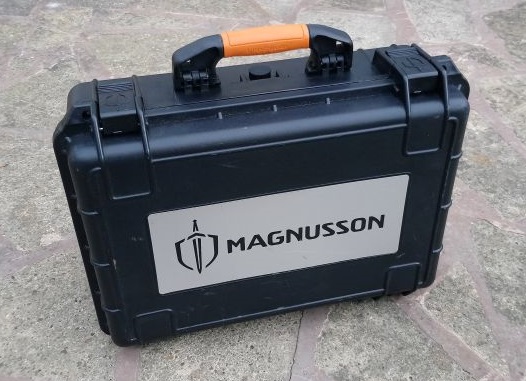
Everything is contained in this heavy duty waterproof storage case with handle

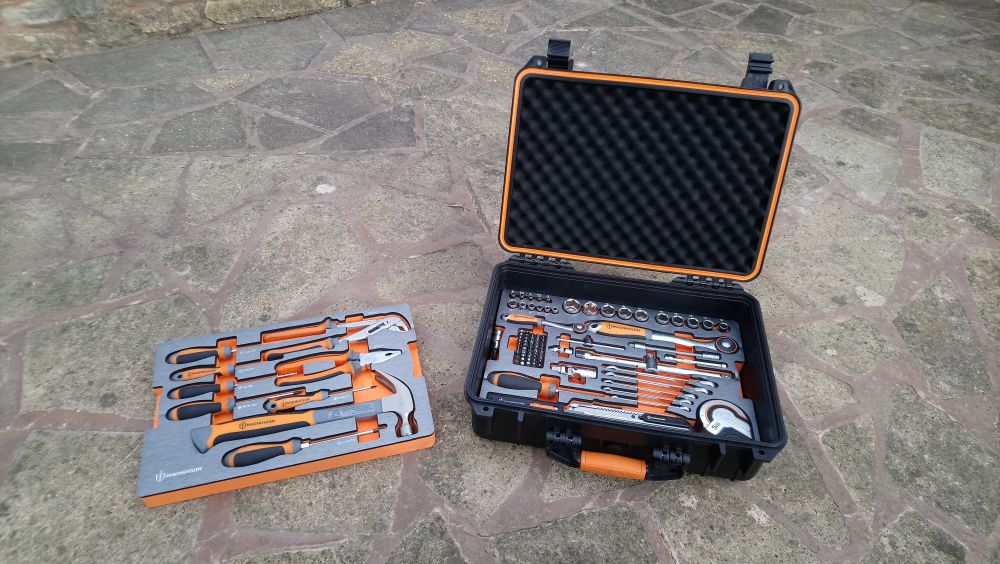
Inside are two high density foam storage trays keeping everything organised and stopping the tools from rattling about while we’re driving. Even the inside of the case itself is padded!

The upper tray contains pliers, screwdrivers and a hammer

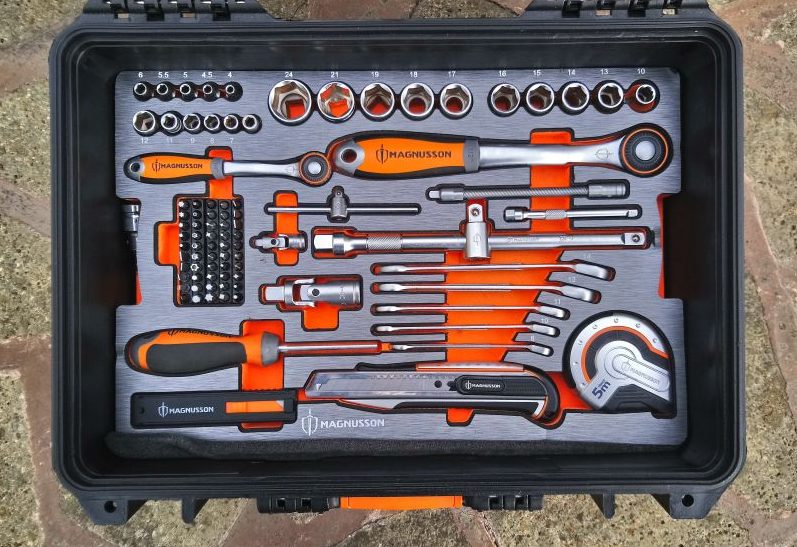
While the lower tray contains combination spanners, a bit driver with a good selection of bits, sockets from 4-19mm + 21mm & 24mm (so it will even handle Ducato wheel nuts), two ratchet handles, extension bars, a tape measure and a knife with spare blades.

The only thing I have added is an 8mm Hex key in a 1/2″ drive socket – which is for removing the cap head bolt that secures the spare wheel in our Hymer Motorhome. All the tools are decent quality (not professional quality, but much better that most of the ‘DIY’ type tool sets you see) so it should last for many years on the road. The whole lot weighs 9kg in total, so doesn’t take up too much payload.

This has saved our bacon a few times and easily paid for itself several times over. What do you carry? – any tools/equipment you couldn’t be without on the road? – let me know in the comments below!

Broken Grey Water Drain Valve Replacement

While up at 1350m in Montalbert in the Alps the handle that operates the grey water drain valve on our 1999 Hymer B544 decided to snap off! Fortunately, I managed to get hold of a replacement valve, unfortunately changing it meant lying underneath the van on an icy carpark at -2degC…..

Continue reading

Schaudt Elektroblock – DIY replacement

The Schaudt Elektroblock is an all-in-one power distribution, control and battery charging system for Motorhomes & Caravans – predominantly fitted to German built vehicles. Our’s recently started misbehaving on a recent trip to Europe, and while it was sent away and repaired by a specialist after the trip it made me lose some faith in the 20 year old components it is made from!

Continue reading

Ducato Cold Start / Flame Start system explained

The 8140.43 2.8L Diesel engine used in various Fiat Ducato, Peugeot Boxer, Citroen Relay and other vans and MotorHomes uses a fairly unusual cold start system, here we’ll look at how it works so if you need to do any troubleshooting, you know where to start!

Continue reading

Refillable gas system or standard replaceable bottles? – a guide

A lot of information on the internet would suggest that swapping out your replaceable gas bottles for a refillable system is an upgrade that would benefit everyone, but as with many things the reality is a little more complicated…..

Continue reading

Is Propane/Butane a “Wet” Heat

An often touted statement on the internet is that burning Propane or Butane creates a “Wet Heat” – potentially leading to damp in your van….

While there is a lot of truth to this statement, I’ve also seen people advising use of electric heating instead of gas to combat the problem, and here things get a little more complicated (I’ll get to that shortly!)

Continue reading

DIY Reversing Camera install – less than £25

Motorhomes tend to have pretty appalling rear visibility, so reversing cameras are a popular accessory. You don’t need to spend hundreds of pounds, perfectly acceptable wireless reversing cameras kits are available for less than £25 from places like eBay, and are really easy to install!

Continue reading

Motorhome fridge troubleshooting – fridge not working on gas

A common issue with the absorption refrigerators fitted to most motorhomes is insufficient cooling performance when operating on gas. Absorption fridges are interesting devices that cool using no moving parts, and require only heat to drive the cooling process (which seems counter intuitive, but if you want to read more about the working principles Wikipedia has a good article here)

Continue reading

Hymer B544 Fridge Removal

You may need to remove the fridge from your B544 for troubleshooting (see article on troubleshooting a fridge not working on gas here), or just for access to something else. Here’s the process for fridge removal based on our 1999 model:-

Continue reading

Hymer Headlight Leveler Repair

A common issue on Hymer B-class motorhomes seems to be the headlight height adjustment failing.

The system is hydraulic and consists of a main unit on the back of height adjuster knob in the dash connected to hydraulic actuators on the headlights themselves via tubing. Over time the oil can leak out of the system leaving the headlights in their lowest position.

Fortunately replacement parts are available. Unfortunately it is a sealed system that needs to be replaced as a whole, and is likely to cost over £100 for the parts! Occasionally you might get lucky and find cheaper parts overseas.  I managed to get parts shipped from Germany which saved a decent amount versus buying them in the UK.

This is the system as supplied (as modeled by Muffin) with the dash mounted unit on the top right. You can see one of the headlight actuators at the end of the blue hose on the bottom left (the other headlight unit is hidden behind Muffin’s sleeve!)

First step in replacing this lot is to get the old unit out of the van! If you pull the adjuster knob off on the dashboard you can get to the two fixing screws that hold the adjuster.

The hoses on the adjuster go up underneath the dashboard to the bulkhead where they pass through a grommet into the engine bay. 

Here you can see the grommet and hoses on the bulkhead:-

Next step is to remove the actuators from the back of the headlight units – these just twist to unclip.

You can just about see one of the actuators to the right of the headlight unit here (looking down from the top):-

Once you’ve removed both actuators from the headlights you need to poke the grommet through the bulkhead (from the engine side) and feed the hoses complete with actuators through the hole in the bulkhead to underneath the dashboard. The whole lot can then be pulled out from under the dash.

Fitting the new system is effectively the reverse of removal:

  1. Feed the actuators though to the engine compartment from the dashboard side and seat the grommet in the bulkhead.
  2. Route the hoses to the headlights and clip on the actuators.
  3. Attach the switch unit to the back of the adjuster knob. 


In reality it’s a bit more difficult than that makes it sound as access/visibility under the dash is limited, and access to the headlights requires a bit of a contortionist act.  It’s all do-able with a bit of grunting and swearing.

Here’s Muffin in position feeding the actuators through the hole in the bulkhead:-

Total repair time – a couple of hours including brew breaks……..

« Older posts Newer posts »

© 2024 Motor-Roam

Theme by Anders NorénUp ↑