Tag: Hymer (page 4 of 5)

Motorhome Step Warning Buzzer Repair

Faulty Warning Buzzer?

Have you made the same mistake as us and driven away while the step is still down? Potentially a costly mistake!

Ever since we bought our 1999 Hymer B544 the warning buzzer that lets you know the step is down when the engine is running hasn’t worked – this never bothered me too much but after driving half way home from a campsite the other day with the step down I figured I should probably look into it……….

The electrical circuit is pretty simple, there is a buzzer that gets +12V whenever the engine is running (from the alternator D+ terminal) and the circuit to ground is completed by a switch that is closed when the step is deployed.

The switch itself is located on the step mechanism and when I disconnected the wiring and earthed it on the chassis with the engine running the buzzer sounded, which pointed to the switch itself being at fault.

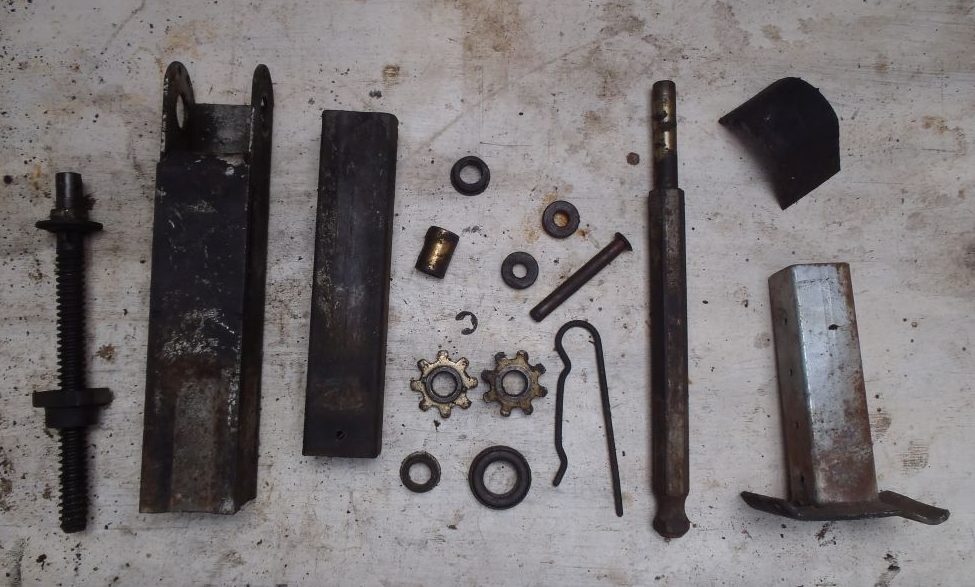
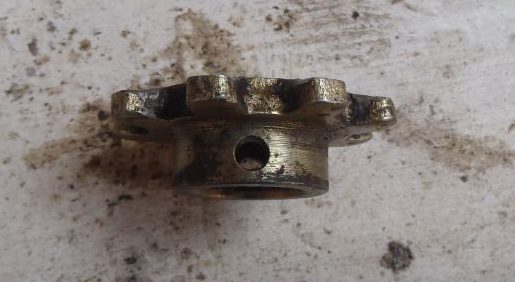
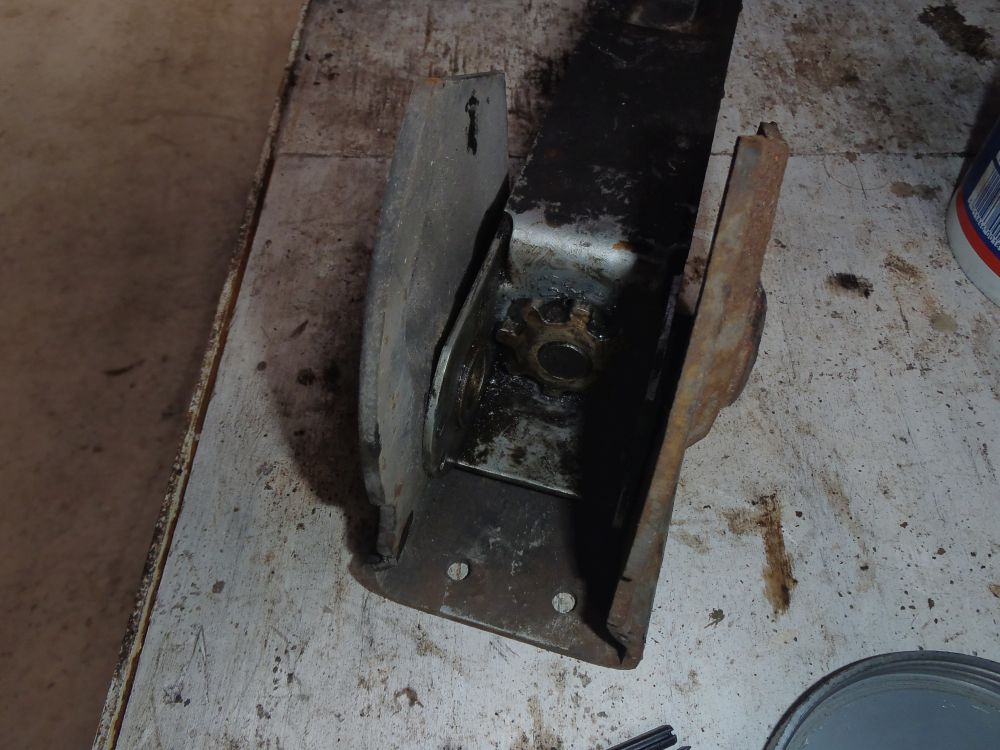
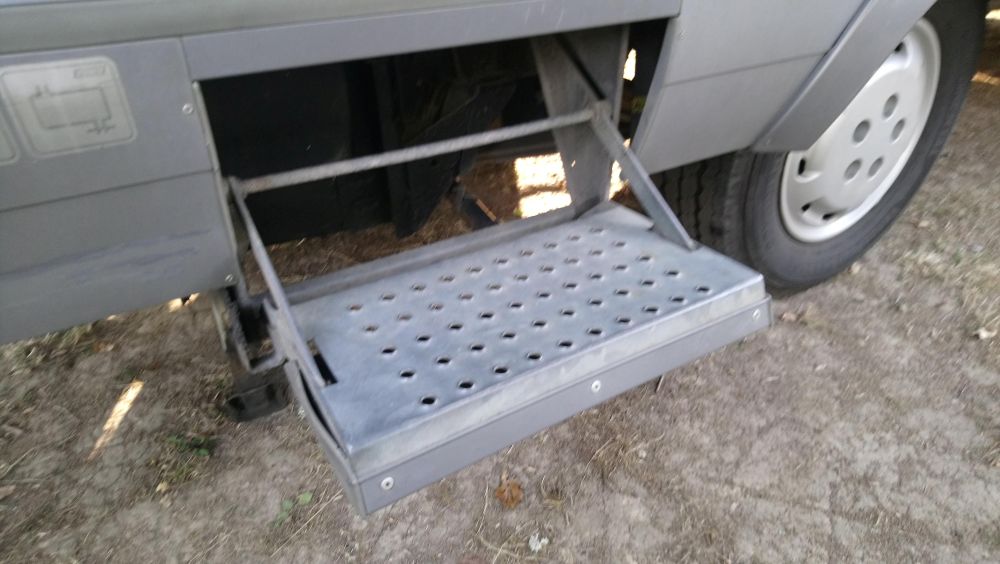
For reference, this is the type of step our bus has, if yours has one of the more modern fancy steps I imagine the warning buzzer system will be similar, but I’ve not investigated to check this out:-

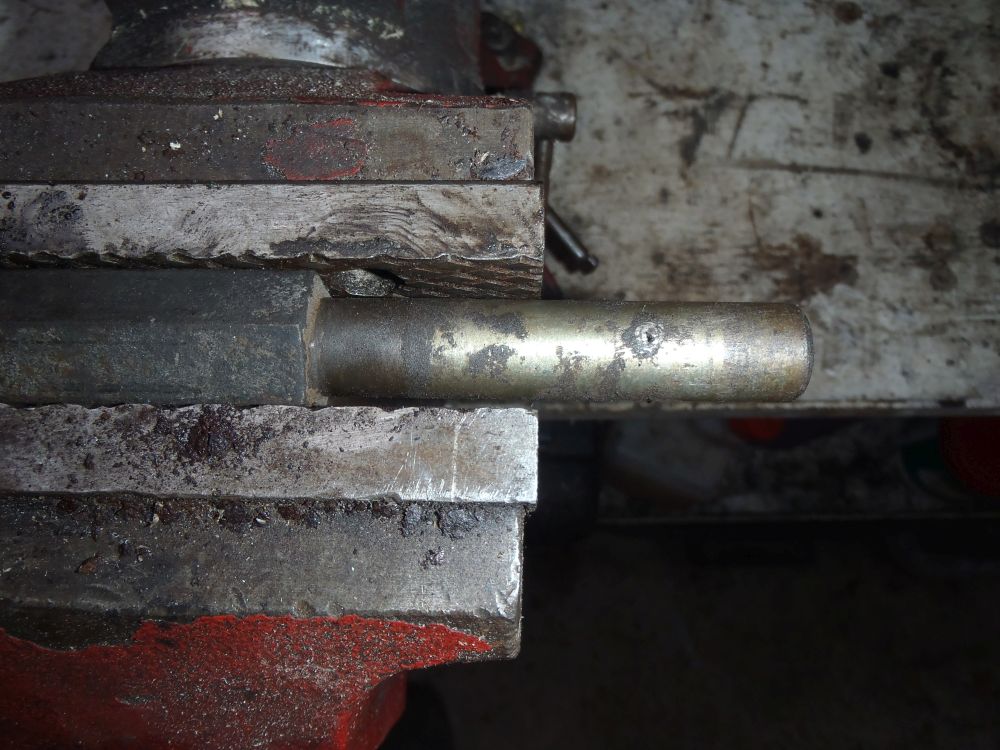
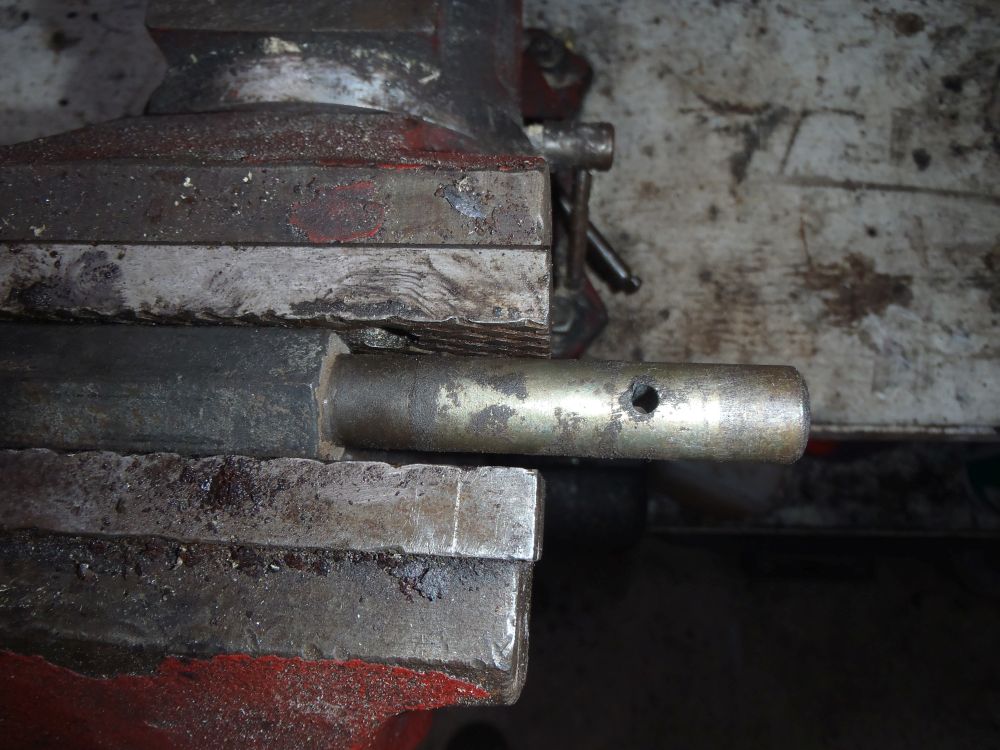
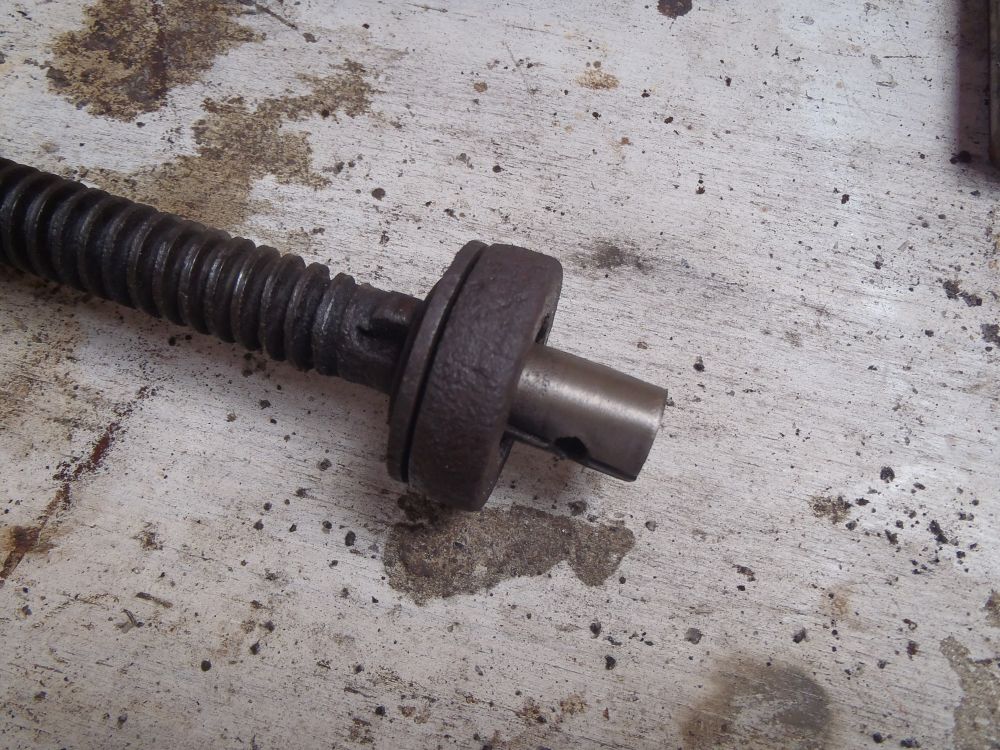
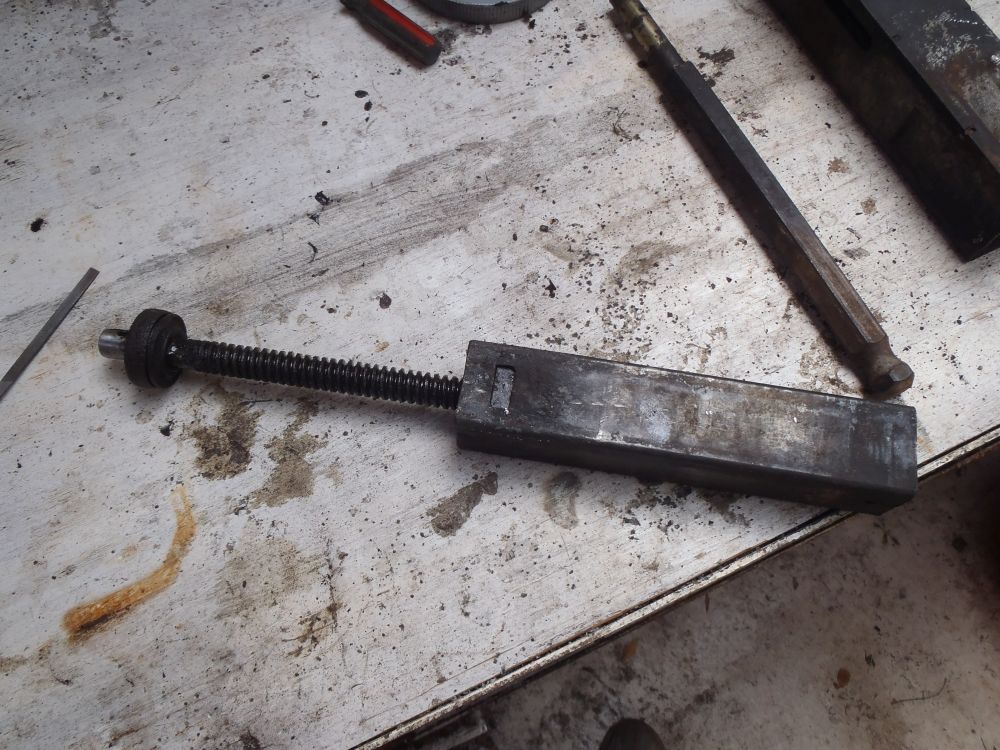
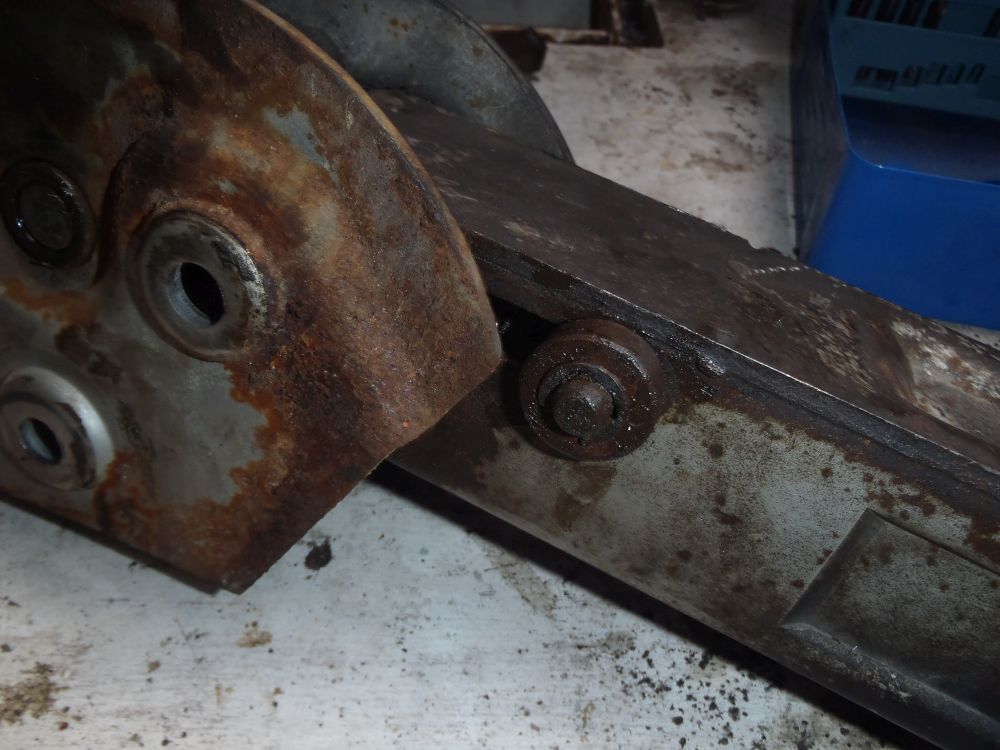
On removing the switch to investigate I discovered it is a simple plunger mechanism that is activated by the step itself as it retracts, but ours was completely rusted solid in the ‘up’ position and well beyond repair!:-

I couldn’t find a direct replacement switch so instead bought a cheap waterproof (IP rated) lever action microswitch for £4.99 from eBay:-

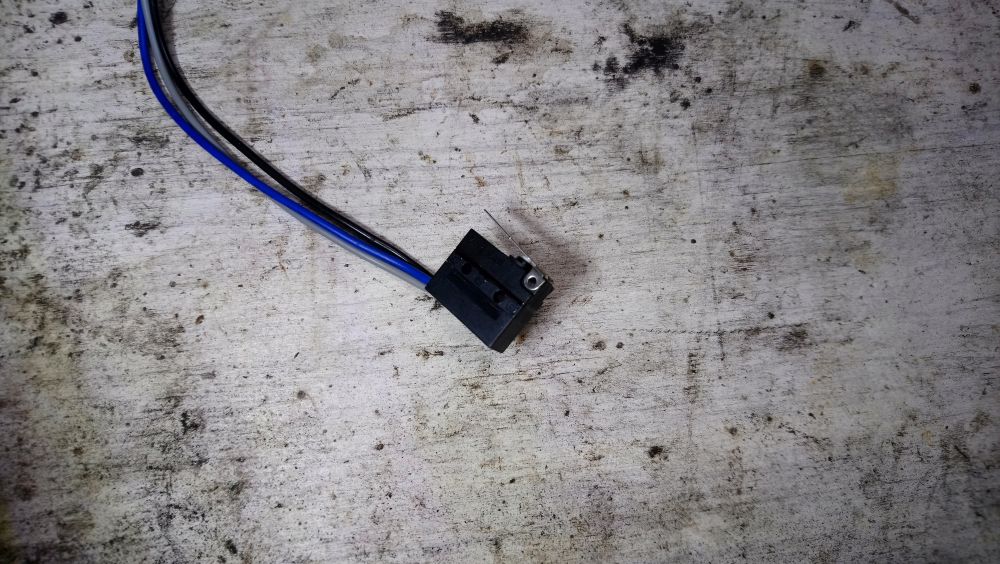
This switch is actuated by the metal lever on the top of the switch in the photo above, there are three wires – a common, normally open wire and a normally closed wire, but you only need two of the wires for this application.

I needed the switch to close the circuit when the lever is not actuated so selected the common and normally closed wires to connect to the wiring on the bus. There was no wiring diagram with the switch or markings on the switch itself but a quick check with a multimeter will determine which wires are joined when the lever is not actuated (if you don’t have a multimeter trial and error would work too! – you are not going to damage anything by connecting it up wrong, you will just end up with a buzzer that still doesn’t work, or one that is on when the step is up)

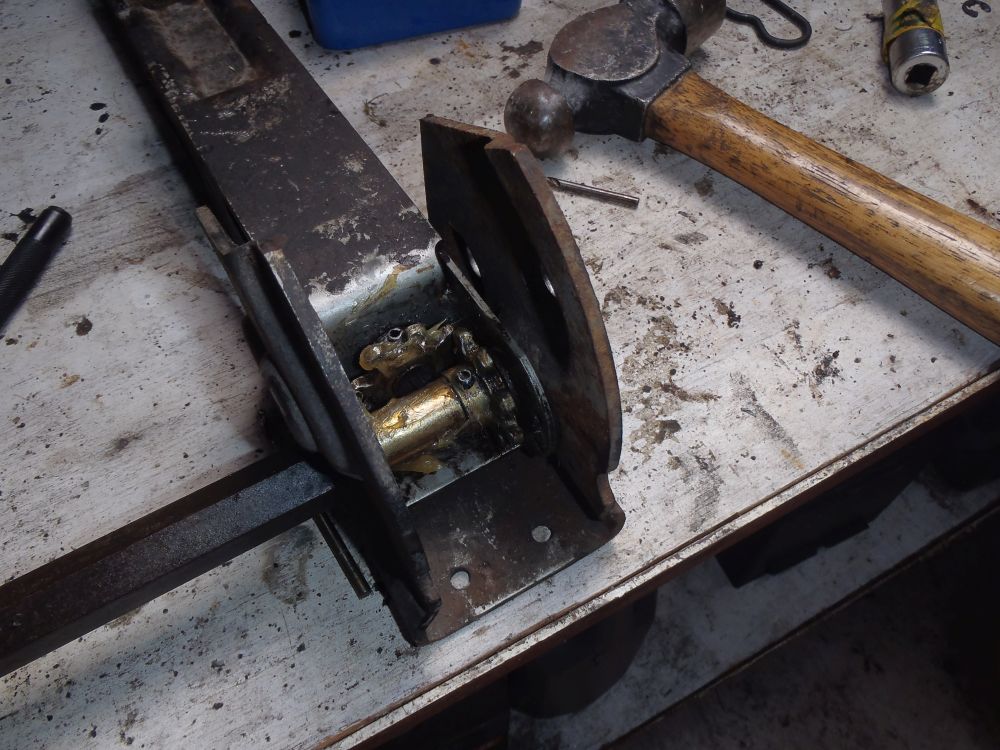
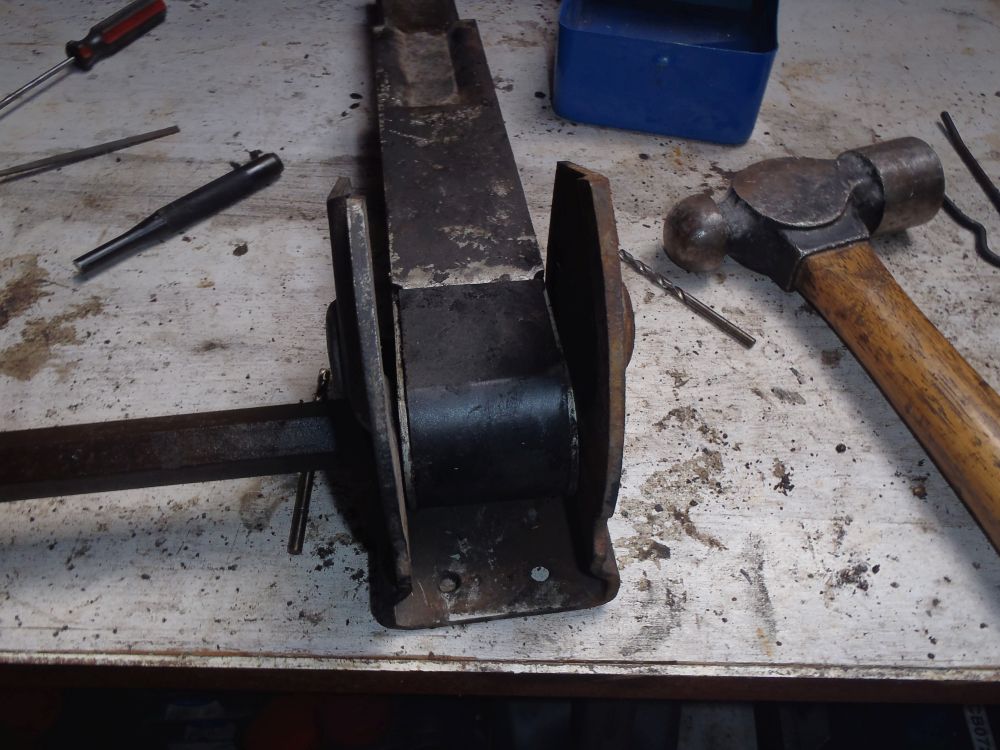
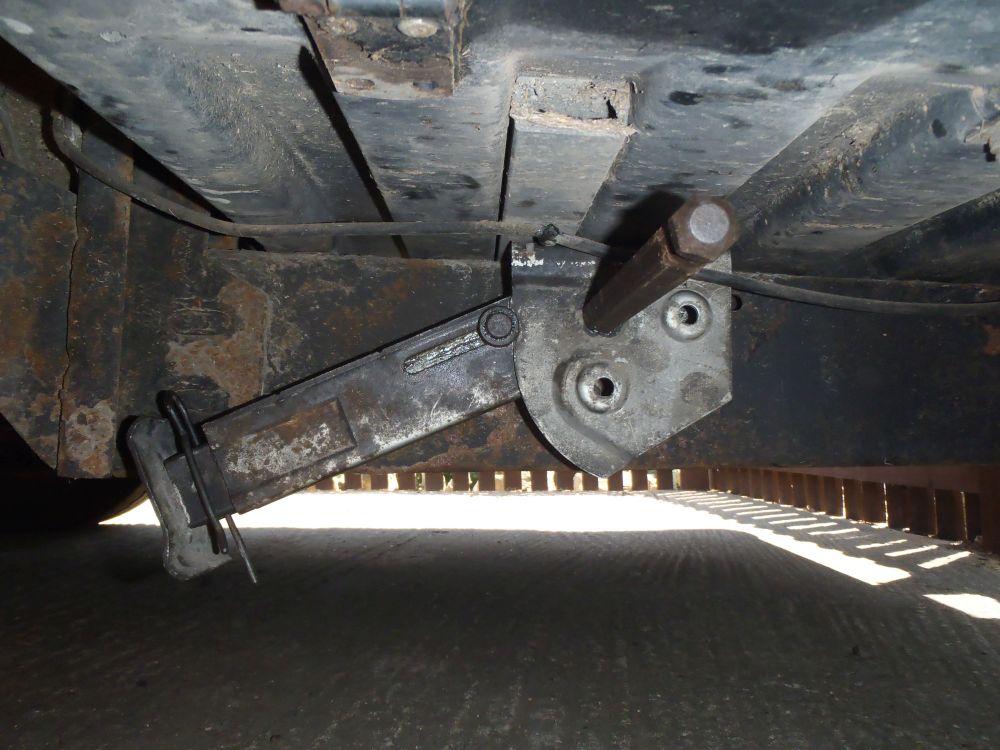
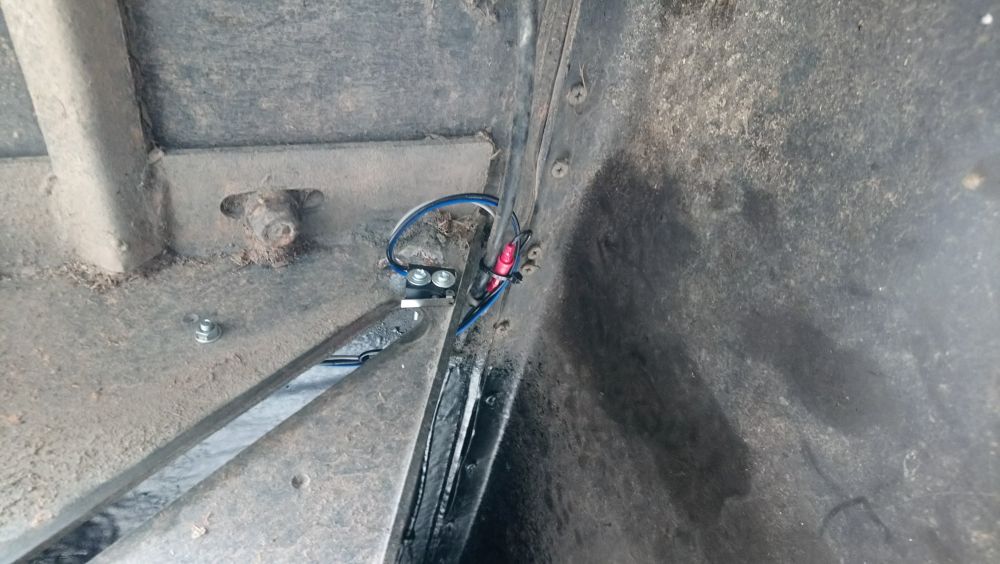
Here is the switch mounted in position on the step mechanism so the step actuates the lever when it is fully closed/up – I just used two small bolts through the existing mounting holes on the switch and drilled matching holes in the step bracket to mount it to. You can see here where the step slides up a slot in the bracket and will operate the lever when it reaches the end:-

All working again now – annoying warning buzzer reinstated! Total repair cost £4.99

Hymer Steady Leg overhaul – freeing a seized steady leg

Siezed Steady Leg?

When we originally purchased our old Hymer B544 both rear steady legs were seized solid – I think they had been left unused in the up position for some time and water had got to them and rusted them up completely. I managed to free one of them with brute force and lots of penetrating lubricant but the other wouldn’t shift at all – here’s how I went about overhauling it:-

There mechanism in the top of the steady legs works with two small gears that are held on shafts with roll pins – using brute force to try and free the seized leg just sheared both roll pins!, there was no choice but to strip it down completely to sort in out. Once it was all dismantled this was the pile of parts I was left with, just a matter of reassembling the jigsaw…….

The main problem was the threaded shaft on the left of the picture above. The nut that runs on the shaft and extends the leg was solidly rusted onto the shaft. To free it off I held the shaft in a vise and heated the nut up with a blow torch until it was red hot, then using a pair of vice grips I could turn the shaft and free it off. Then is was just a case of greasing the threads and running it up and down them a few times to clean them off.

The next job was to remove the remains of the old sheared-off roll pins by driving them out with a pin-punch so they could be replaced. Here is the input shaft in the vice:-

And with the roll pin remains removed:-

The same process was repeated with the gear:-

Roll pin remains removed:-

The same process was repeated with the threaded shaft and the gear that attaches to the top of that, I don’t have any photos of that but you get the idea…..

The bearing from the top of the threaded shaft was dry and rusty, I used a bearing packer to force it full of fresh moly grease. If you don’t have a bearing packing it’s not the end of the world as the loadings aren’t very high and it doesn’t need to handle any speed so probably would have been fine left dry, but and sort of lube you can get in there will help it’s longevity and make the legs smoother & easier to use :-

Here is the bearing back on the threaded shaft:-

Next step is to refit the threaded shaft to the lower section of the leg, This is just a case of sliding the square nut in and hammering the tabs in to hold it in place (you will have had to bend the tabs out to get it out in the first place):-

You can then refit the threaded shaft and low leg back into the main leg ready to refit it’s gear, here is the lower section back in with the gear in place:-

These are the roll pins I got from a local agricultural engineering place to replace the broken ones, I could only get slightly larger pins which meant I had to drill out the holes to a larger size, but if you can get the right size pins you shouldn’t need to do this!:-

Next is the drive shaft with it’s bushings, spacer and gear, with the roll pin hammered into place to hold the gear:-

A bit of grease on the gears and the plastic cover can be refitted to protect them:-

Last job is to refit the small shaft with two rollers that make the leg fold away as it is wound in. This is held in place with a small e-clip:-

All done, here is the whole assembly back on the bus and working just like new!:-

Hope this helps if you find yourself in the same situation, and questions let me know in the comments below……..


Trav-L-Cool Air Conditioner – Explanation and Servicing

Trav-L-Cool air conditioning system

Like a number of old vans (and possibly some new ones!) our Hymer B544 came to us with a Trav-L-Cool air conditioning system installed. These are ‘evaporative’ coolers so work differently to compressor driven air conditioners like you would find in cars and offices everywhere.

Continue reading

Tips on choosing/modifying a Motorhome for the winter

Winter in a Motorhome? 

Many motorhome/camper owners just use their vans when the weather is warm, assuming ‘camping’ is just a fair weather pastime – but they are missing out on one of the best reasons for owning a motorhome – ski season!

Continue reading

Super Besse Resort Review

Super Besse – A hidden gem and well worth a visit!

Located around 4 hours west of the traditional French alpine reports Super Besse is a hidden gem. Continue reading

Fiat Ducato 230 torque settings

Here are some torque settings I have found around the web for the Fiat Ducato 230 with the 2.8td engine – they are not my numbers so I can’t guarantee the accuracy but hopefully they will be useful:-

Continue reading

How To – Efficiently empty your toilet casette

My tried and tested guide to emptying your porta potty toilet! (Black water)

As a relative newbie to the porta potty world (12 months in and countless “accidents”)

Continue reading

How to – use the Mont Blanc Tunnel in a Motor Home

Crossing through the Mont Blanc Tunnel in a Motor home should be considered as an adventure in itself!

Italy calling…

Continue reading

Fitting a 1500W Inverter

When travelling in a motorhome most of your power needs can be fulfilled by gas or 12V electricity – sometimes though you need a hit of mains power!

Continue reading

Front Suspension and Brakes overhaul

There are various rubber bushes/ball joints etc. in virtually all suspensions systems, and over time these components wear and the rubber hardens and cracks – all affecting handling, stability and ride quality.

Continue reading

« Older posts Newer posts »

© 2024 Motor-Roam

Theme by Anders NorénUp ↑