There are various rubber bushes/ball joints etc. in virtually all suspensions systems, and over time these components wear and the rubber hardens and cracks – all affecting handling, stability and ride quality.
It’s also worth remembering that motorhomes spend all there life at close to their maximum weight capacity – so they can wear these components faster than you would expect on a standard Fiat Ducato for example.
If you have knocks, bangs or vagueness in your steering/suspension it is likely some or all of these components need replacing. As our bus is over 18 years old and has done well over 100,000 miles I decided to overhaul the front suspension.
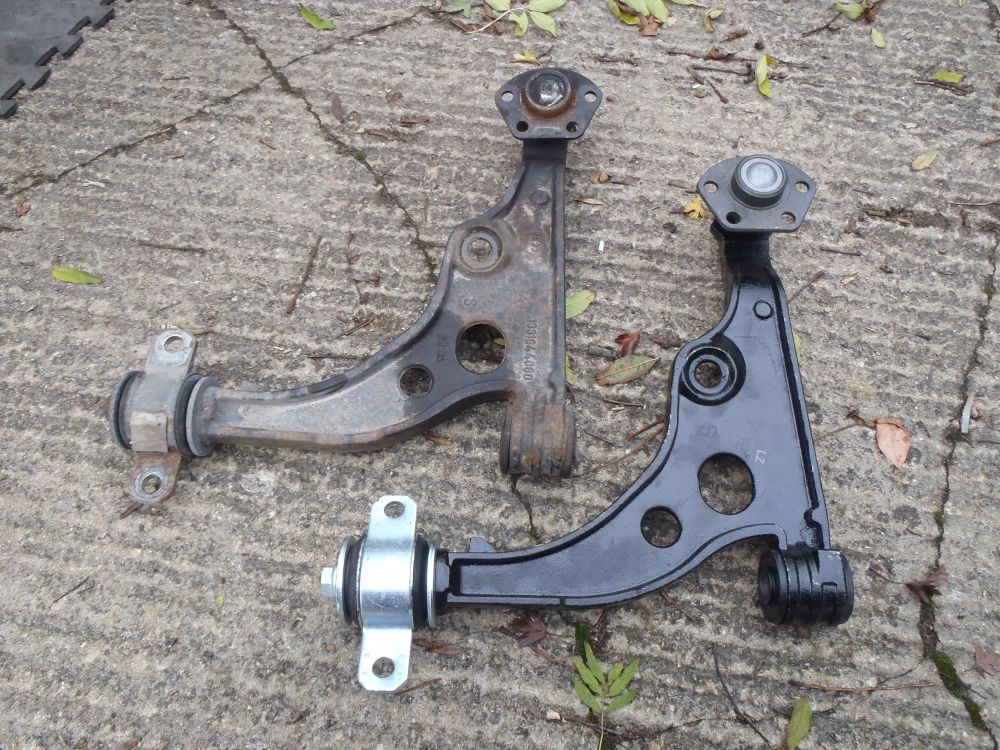
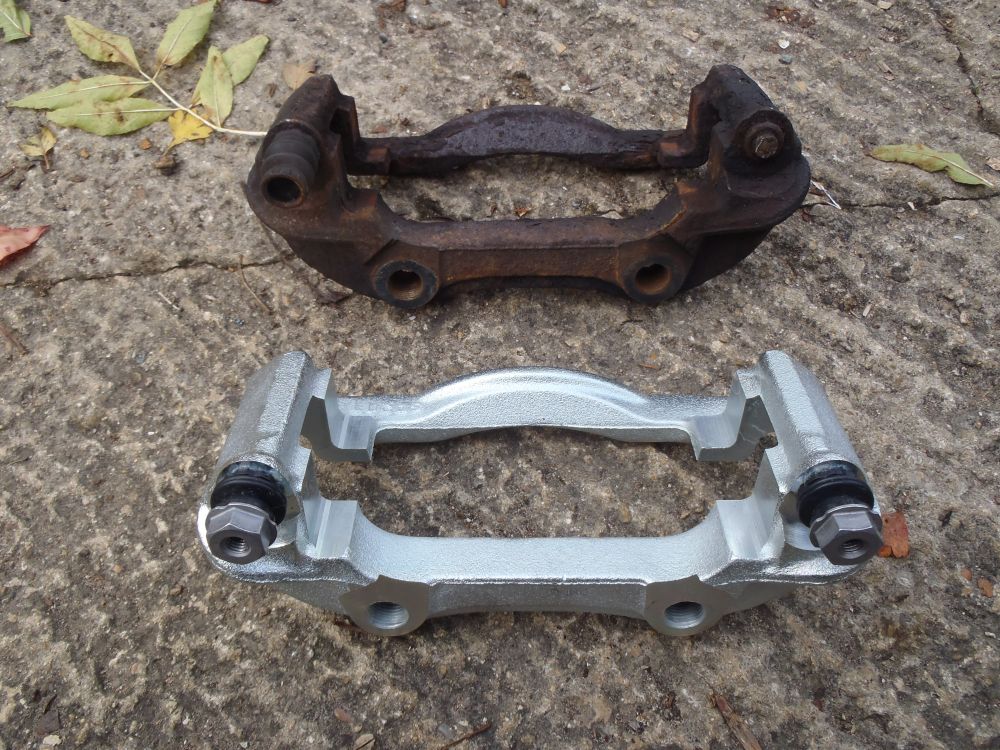
On the Fiat Ducato 230 the lower wishbone has two rubber bushes where they attach to the chassis, and a ball joint where they attach to the suspension upright. The bushes are available separately but whole new wishbones complete with bushes are cheap and readily available so I chose to replace the whole are. Outer ball joints are also easily available for a good price, but beware there are a couple of different sizes depending on the payload of the van, so make sure you get the correct ones! (usually 1800kg payload chassis are used for Ducato based motorhomes)
Here is the old/new wishbones side by side:-
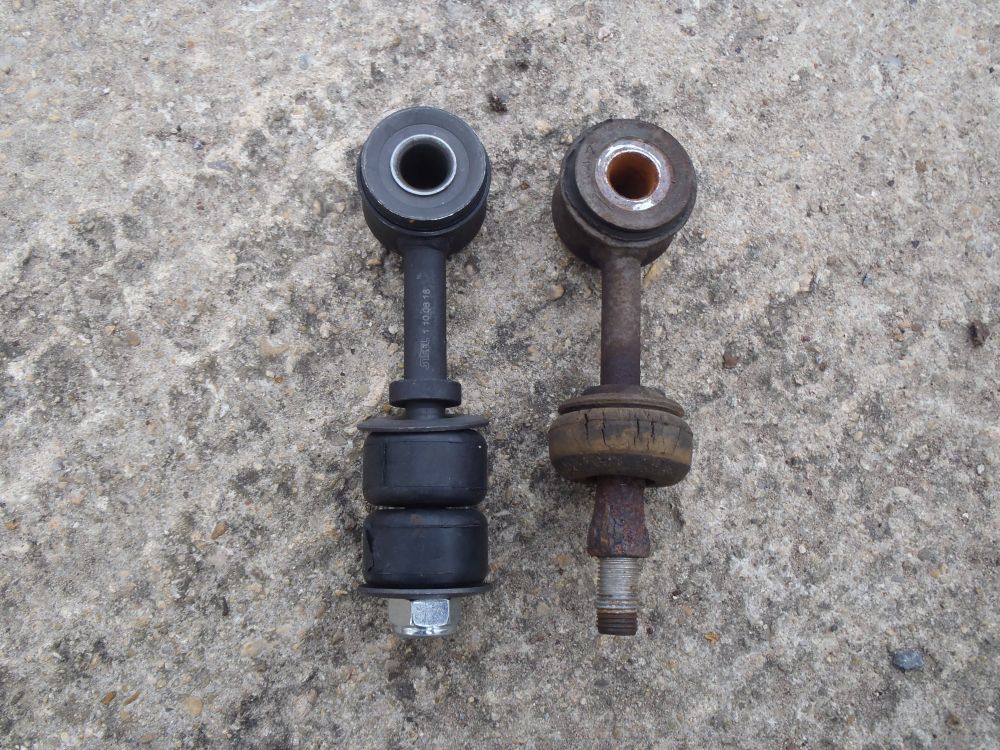
The anti-roll bar also connects to the wishbones via a drop link on either side, with rubber bushes at each end of the drop link. My drop link bushes were also perished so these were also replaced:-
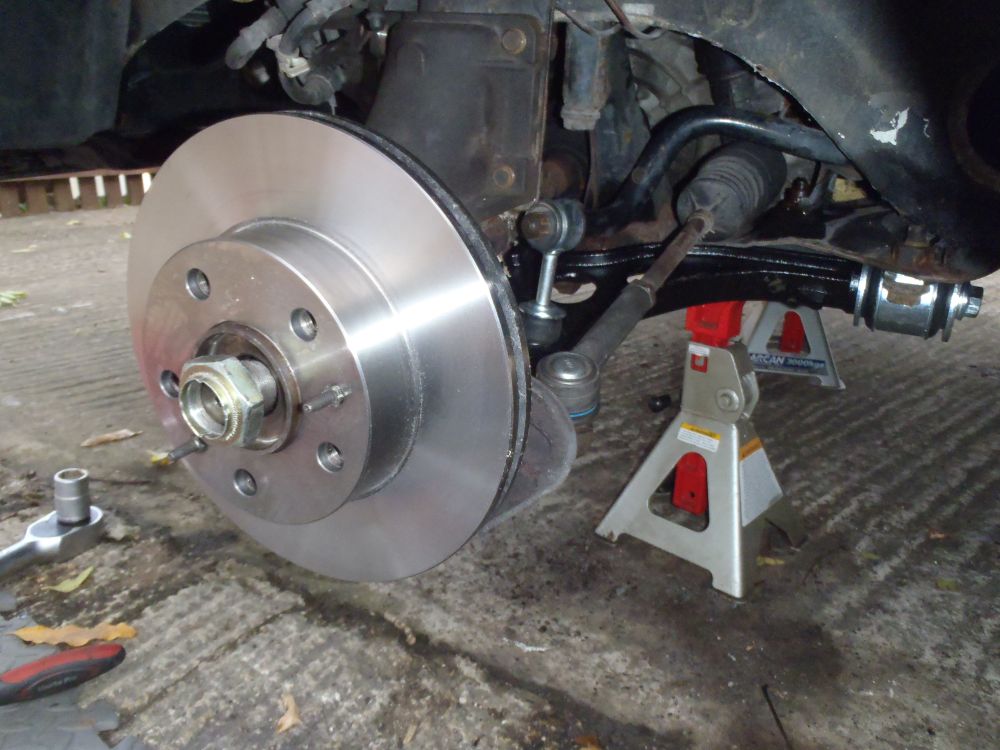
Another item that can wear is the ball joint in the track rod end where the steering rack connects to the suspension upright. In this pic you can see the new wishbone, bushes, drop link and track rod end:-
While I had the front end apart I also replaced the brake discs and pads, however on investigation I found a seized brake caliper slider pin on one side. When trying to free the slider it sheared off leaving most of it stuck fast inside the caliper carrier – bugger!:-
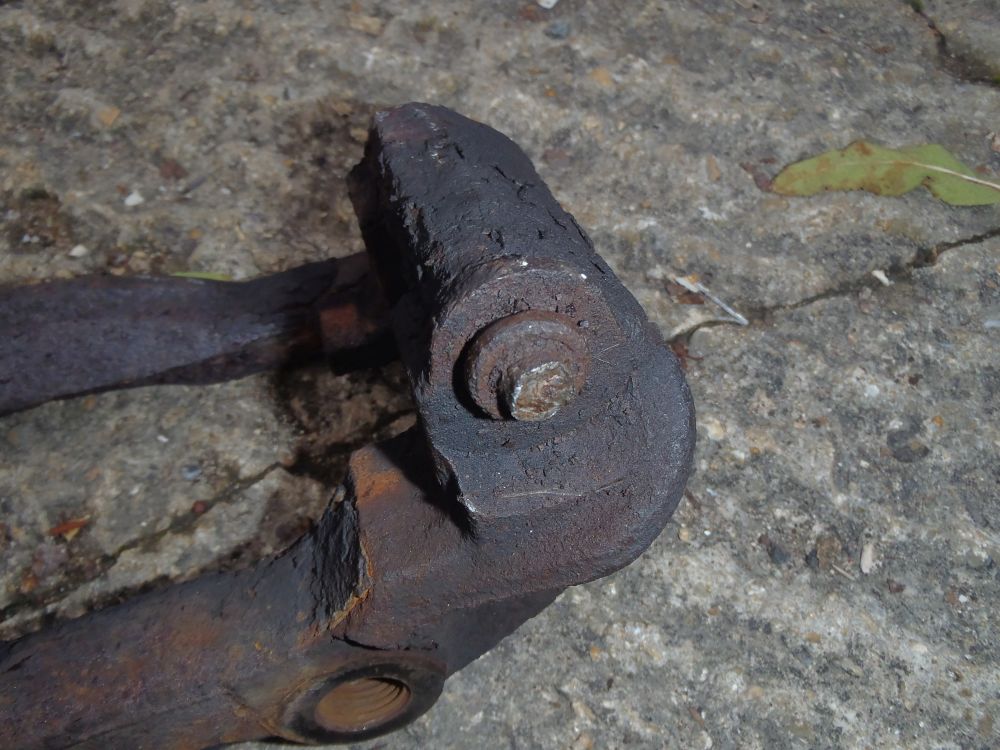
New slider pins are available but I couldn’t get the remains of the broken one out of the caliper – this would normally mean a whole new brake caliper assembly but fortunately I managed to source just a replacement carrier complete with slider pins:-
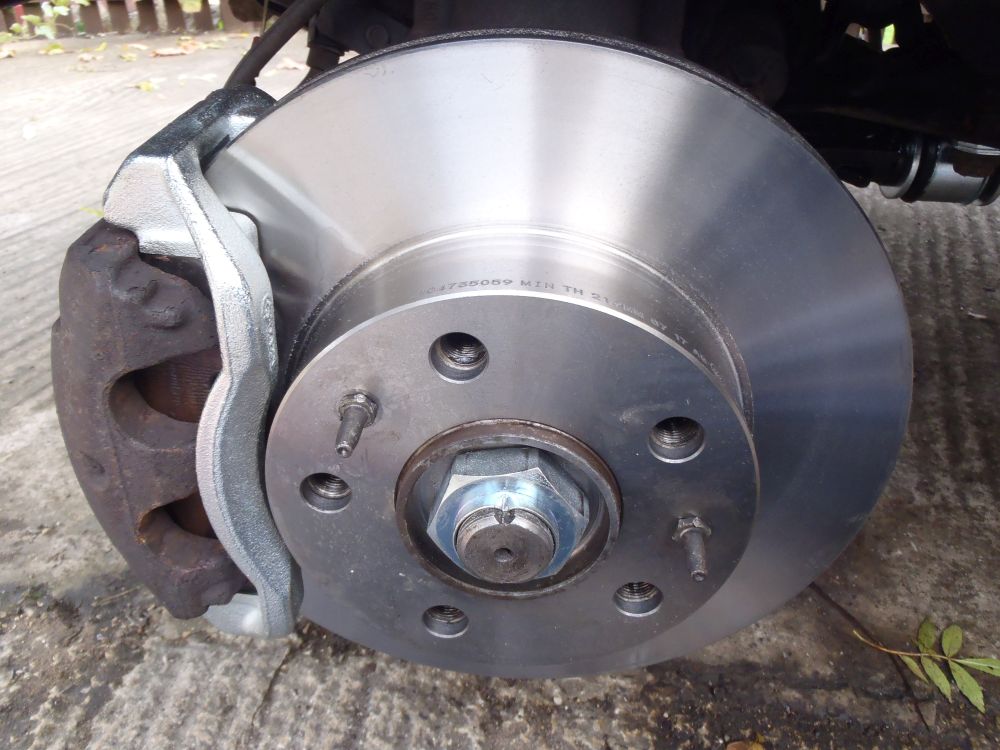
Here is the brakes back together with new disc, pads and carrier:-
Finally it is important to check/set your wheel alignment if you have had the suspension apart or renewed any parts. For this I used my trusty old Dunlop AGO40 alignment gauges:-
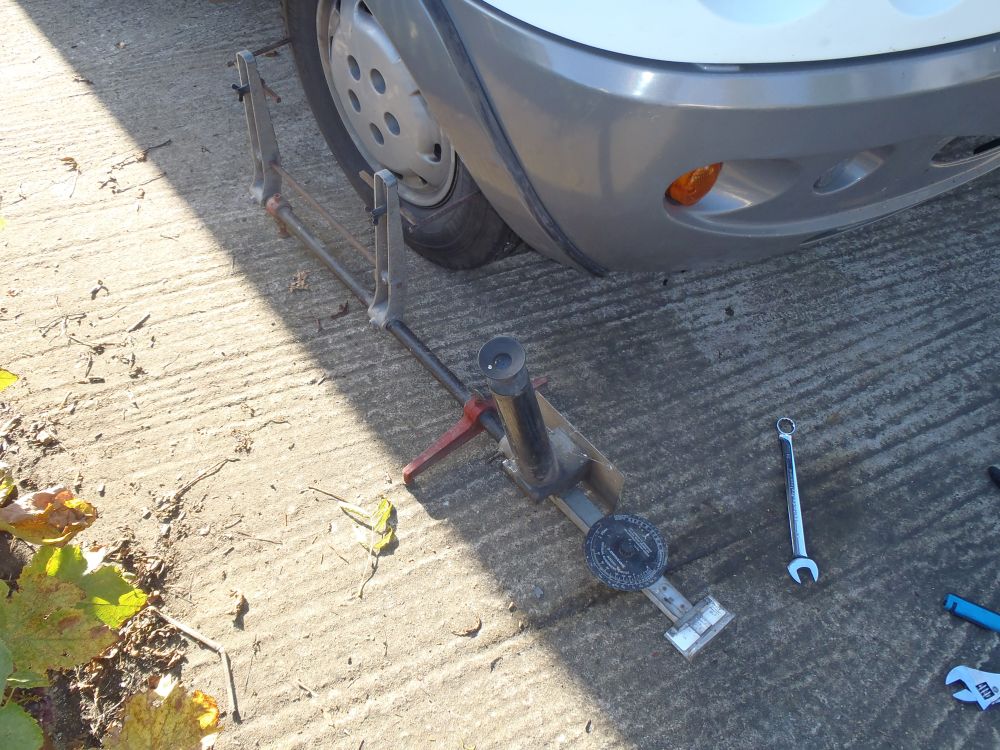
If you don’t have access to kit like this, or don’t fancy doing it with bits of string and axle stands (a system that has worked for racers for years!), then most tyre shops will be able to set the wheel alignment for you for a small fee.
There is a separate article on replacing the suspension struts here
Any questions/comments? – let me know below

September 21, 2018 at 11:24 pm
I haven’t seen the old Dunlop gauge for years. I made one up for my 1962 Series Land Rover with timber and 4″ nails Lol! Some nice spannering on the truck there sir!
July 9, 2020 at 12:19 am
hi – i’m interested in where you put the axle stands under the front subframe? Metal to metal? Wood spacer? Other?
July 14, 2020 at 6:19 pm
Hi Steve – I typically support metal-to-metal under a strong part of the subframe (like where the subframe attaches to the chassis, or near the inner lower-arm mounts) though it is a good idea to use a piece of wood to help prevent slipping or damage to the subframe. Cheers, Dan
July 14, 2020 at 7:51 pm
Your photo shows the axle stands more toward the middle of the cross member, not on the suspension arm bearing surfaces. I’ve a x244 model and struggled to find a flat space for the stands and infact ending up denting the cross member from where I placed them. It’s such a heavy beast, working on the, slightly sloping , drive is a challange!
July 15, 2020 at 8:13 pm
Hi Steve – well spotted! I probably had them a bit further inboard while I was doing that job to give me a bit more clearance to strip the suspension off. The x230 cross member is a pretty tough beast but the axle stands were probably under the mounting bolts for the steering rack or rear gearbox mount, which would have stopped the ends of the stands from denting the cross member. It’s definitely a heavy beast as you say and I can imaging working on a sloping drive is a bit hair raising – hopefully you’ve got good wheel chocks for when one end is up on stands?
Cheers, Dan