Solar panels on a motorhome are a quick and easy way to reduce your reliance on electric hook-ups or noisy generators, here’s how I added a 100W panel and controller to our 1999 Hymer B544……
The two main things you will need are a solar panel itself and a solar controller of some kind – the voltage output of solar panels is dependent on how much light they get and without a suitable controller they could overcharge and damage the batteries they are connected to.
The first things to decide is how much power you need – solar panels tend to be rated by how many watts they put out but you need to bear in mind that the advertised figure is in full sun and at the equator, when the sun is directly overhead. Any cloud cover will reduce the output, as will the angle of the sun to the panel (this is why you see commercial solar installations angled towards the average position of the sun in the sky)
We wanted solar to extend the time we can spend without needing to run a generator when in the mountains in the winter – obviously the hours of daylight are shorter in the winter and the sun is low in the sky, both of which reduce the amount of battery charge you can expect to gain in a typical day.
I settled on a 100W mono-crystalline solar panel as a good trade-off of size, weight and cost – it was about £77 delivered and mounting hardware was another few £’s.
For the solar charge controller I went for a Schaudt LR1218, which can cope with 18A throughput (way more than my panel is ever going to give!). It has connections to allow it to be hooked up directly to your leisure batteries (and starter battery if you wish) but also comes with cables for connecting it directly to Schaudt Elektroblock units (our bus uses an EBL 4-105 ). Connecting it up this way means the current the solar is providing will show on the current gauge on motorhome control panel – in the same way it does when you are charging via the electric hook-up.
First step is to mount the panel on the roof, I used small aluminium stand-off feet (available cheaply from eBay etc.) together with polyurethane type sealant under the feet to ensure rain doesn’t track under the feet and end up getting into the roof. Here is the panel mounted on the roof:-
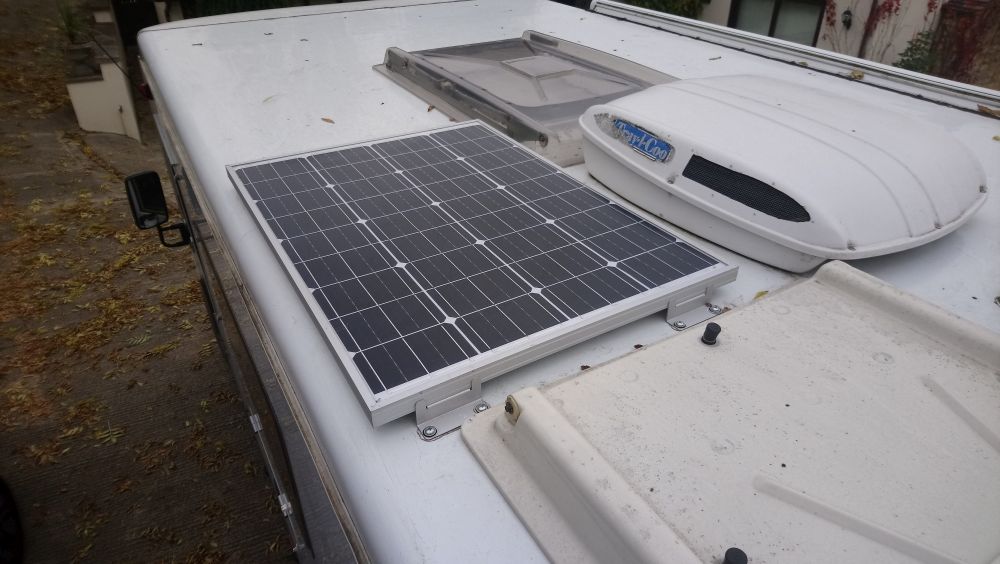
One thing to bear in mind when choosing where to mount your panel is that a shadow across even a small part of the panel can reduce it’s output to almost nothing – even the sections still in the sunlight will not produce current if part of the panel is in shade. So if you have anything that sticks up significantly from your roof (like a satellite dish for example) make sure it’s not going to cast a shadow across your panel.
Next step is to run the wires from the panel to the controller – two wires (+ve and -ve), make sure they are sized appropriately for the amount of current your panel can put out. I took the wires through two waterproof glands fitted to the roof underneath the panel to feed the cables into the main wardrobe inside the bus:-
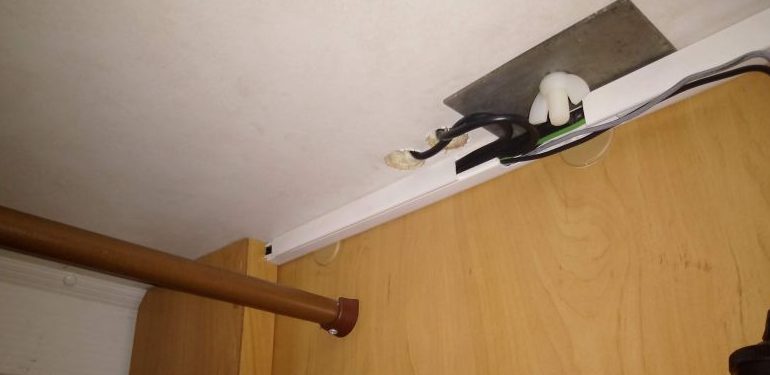
(the solar cables are the two appearing out of the circular holes in the roof – the metal plate with the nylon bolt/wingnut is sealing up a previous hole from where a television aerial was installed by a previous owner!)
From here the cables are run down and through the floor of the bus, along the chassis, up through the engine bay and then in through a grommet on the bulkhead to follow the rest of the wiring to the Elektroblock (the Elektroblock is mounted in a small cupboard on the right hand side of the cab in our bus)
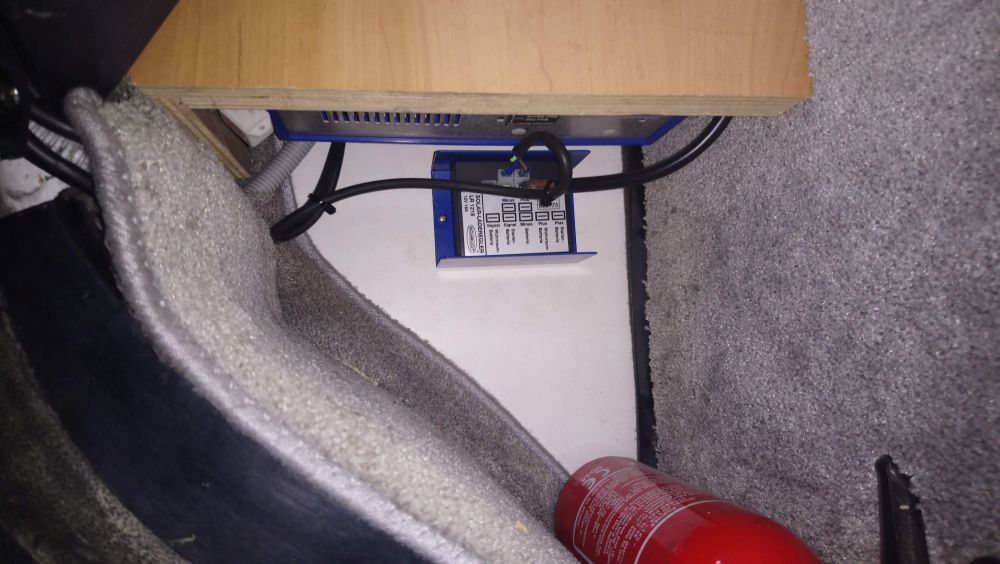
Here you can see the cables connected to the solar regulator, with the regulator mounted out of the way underneath the cupboard housing the Electroblock (for those of you familiar with B-class Hymers, this is the area on the right hand side of the cab between the wheel arch and the gas locker!):-
The output cable (supplied with the regulator) then runs up the side of the Elektroblock and plugs into the socket marked ‘D-Solar’ in the top:-
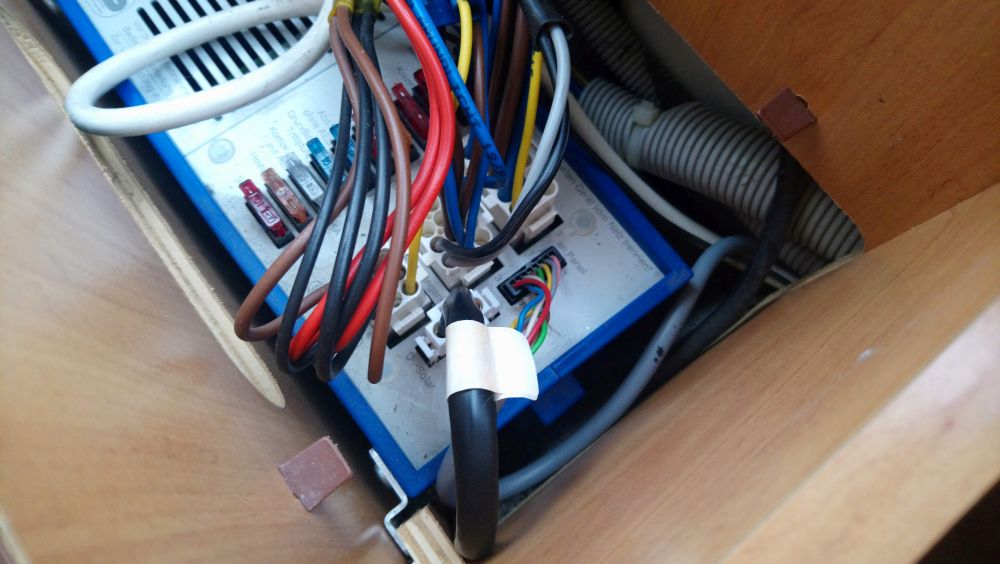
Note – there is nothing special about the solar socket – it’s just a connection to the leisure batteries via a fuse on the correct side of the current shunt to allow the current to show on the control panel. There’s no reason you couldn’t use this socket for connecting a wind generator, auxilliary charger etc.
Once connected that’s all there is to it! A couple of hours work and about £150 in parts and you’re all done.
Found this information useful? – Want to support Motor-Roam?
Click here to find out how!

Leave a Reply