The three-way fridges fitted to most motorhomes and camper vans are great when they work, but the gas burned and flue assembly can get blocked up with soot and other detritus over time, reducing the fridges effectiveness. Thankfully on most vans the burner can be serviced via the two vents on the outside of the van, so there is no need to remove to the fridge entirely – here’s how…..
(Note – the fridge in this example is a Electrolux RM4410 from the late 90’s, the burner/flue assembly is similar on most Electrolux/Dometic models)
Disclaimer – any gas appliance is obviously dangerous if not it proper working order. The information here is provided for interest only, do not attempt any work on your gas appliances if you are not suitably confident or qualified!
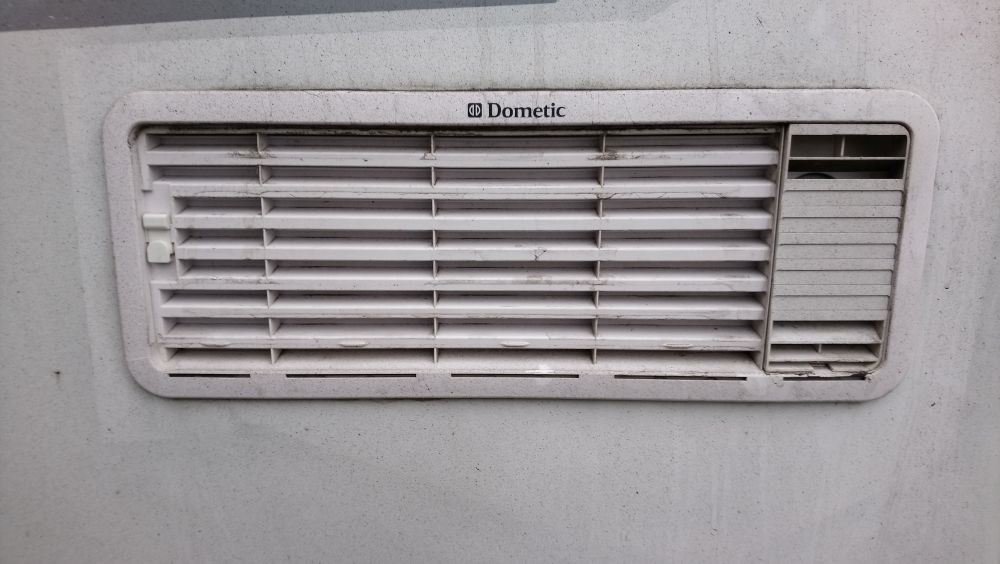
First step is to unclip the plastic cover over the gas flue on the right hand side of the upper vent (hopefully your vent is cleaner than this one!)
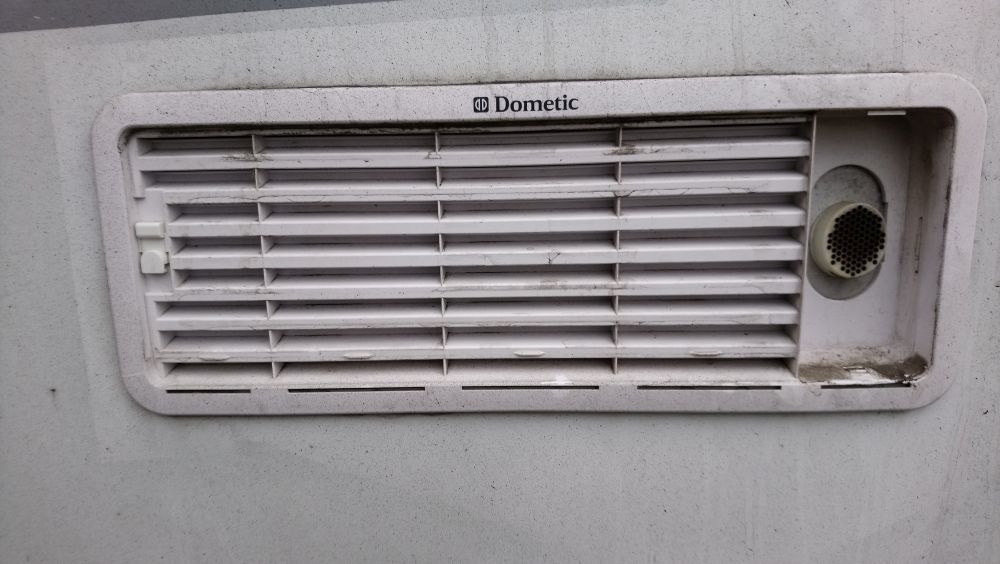
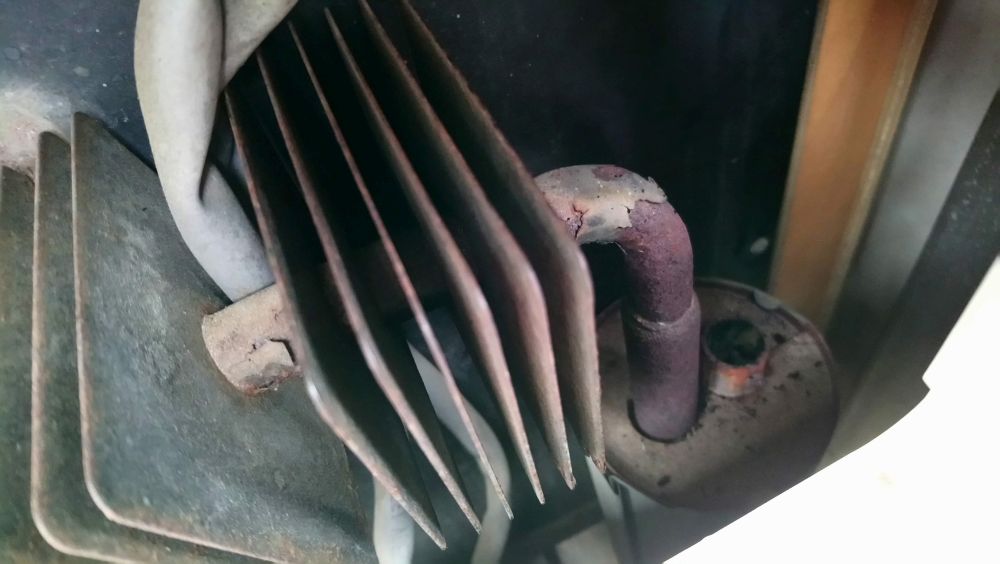
With the flue cover removed you will see the flue grille itself, as shown here. Next release the clip on the left hand side of the vent (it slides upwards on this model) and pull the left hand side towards you. Unclip the vent from the tab on the right had side and remove it completely. The flue grille can be lifted out once the vent is removed.
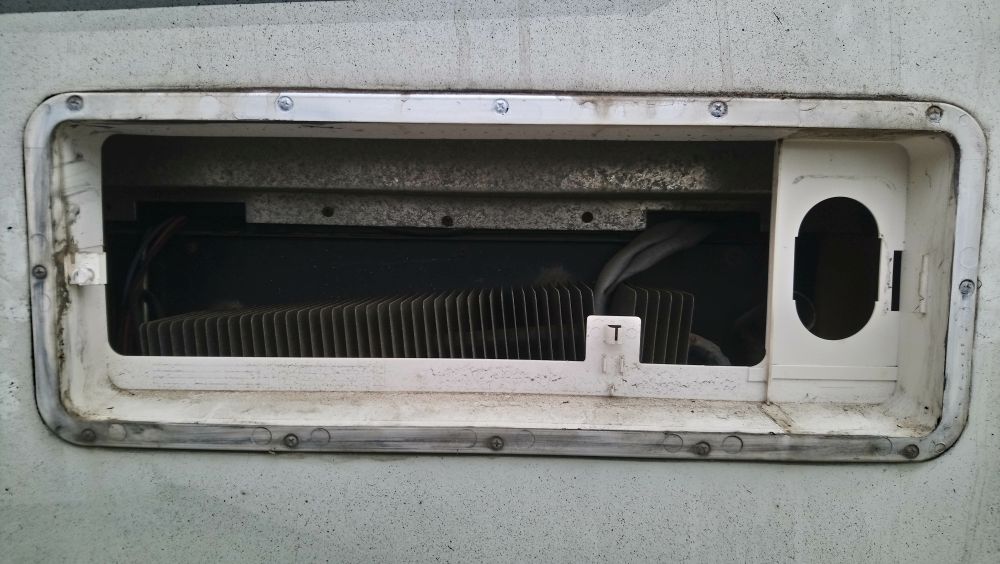
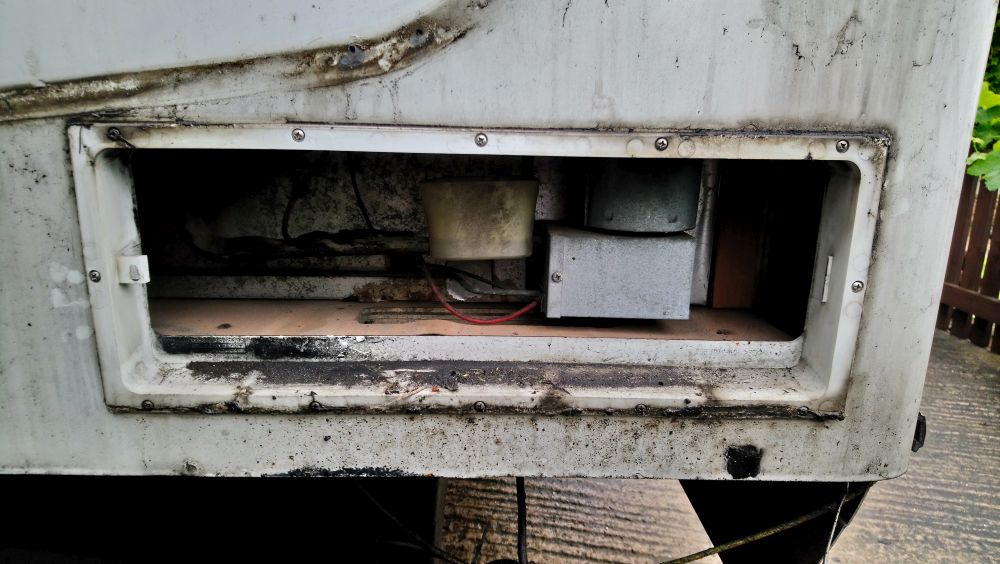
You will now have access to the top section of the rear of the fridge though the vent frame
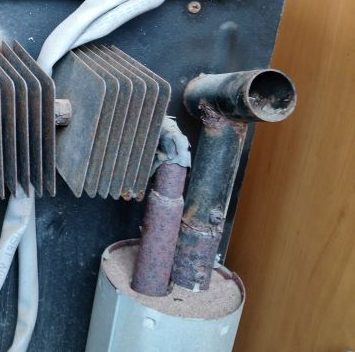
The top of the flue will have an angled section to direct gasses out of the flue grille, and possibly a flue extension. Loosen the screw closest to the heater can body and remove the top section of the flue. You should now see a small piece of wire hooked over the top of the remaining section of flue – this holds the baffle in place. Using the wire to lift the baffle out of the flue.
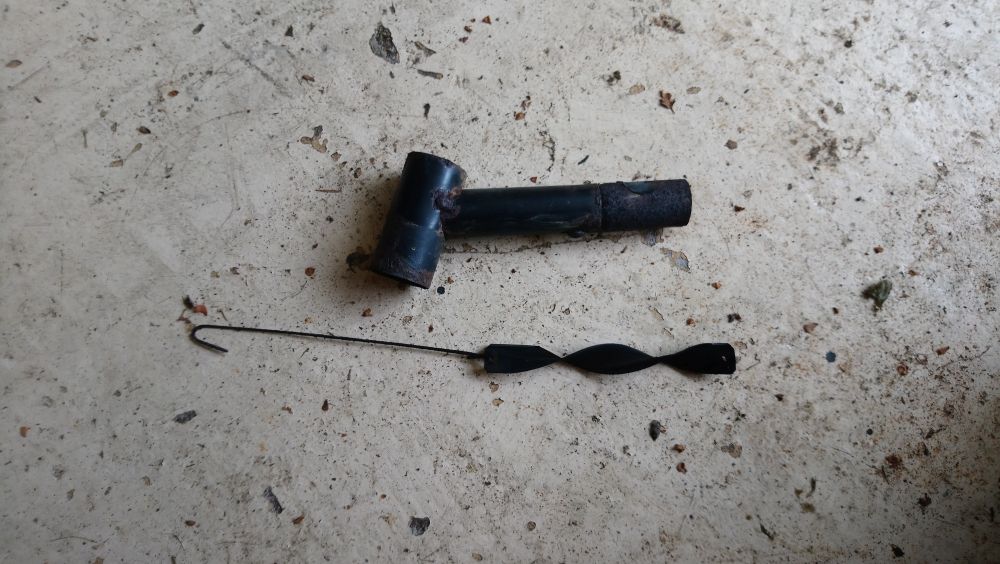
Here is the removed upper flue section and baffle – these can now be cleaned if they have a lot of soot on them.
Next step is to remove the lower vent – procedure is the same as the upper vent. The burner heat shield now needs to be removed – it is the small metal box at the bottom of the heater can and is held in place with two small screws.
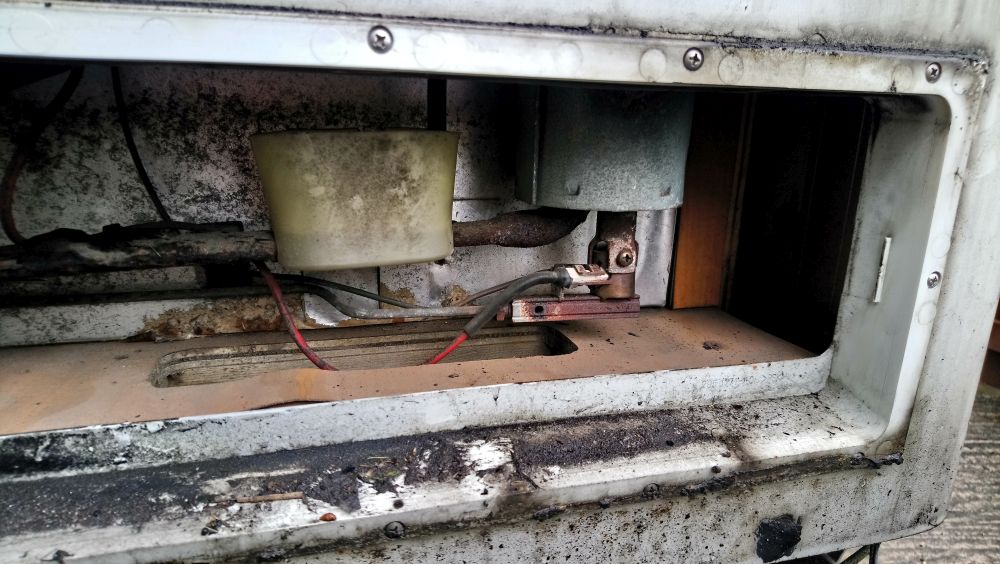
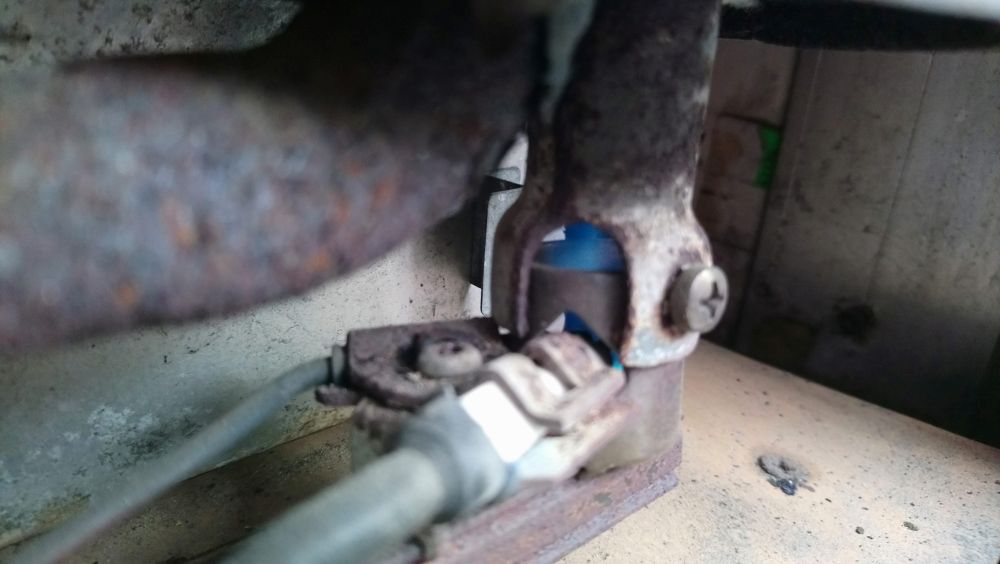
You should now be able to see the burner as shown here. If you are just cleaning the flue then you can move it out of the way by removing the one screw that holds it onto the flue. If you want to clean the burner out you will need to disconnect the gas pipe from it and undo the clamp bolt that holds the ignitor electrode and thermocouple in place.
Looking in through the top vent you can see the top of the flue, with this access and the burner removed from the bottom of it you can now sweep it out.
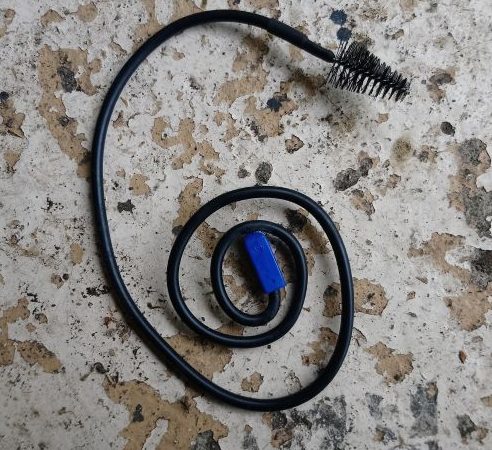
I found a small bottle brush ideal for sweeping out the flue – simple feed it into the flue from the top and keep going until it pops out of the bottom. This brush was sold as a sink drain cleaning device – if you don’t have anything like this you can use electrical cable with the ends frayed out to make your own brush,
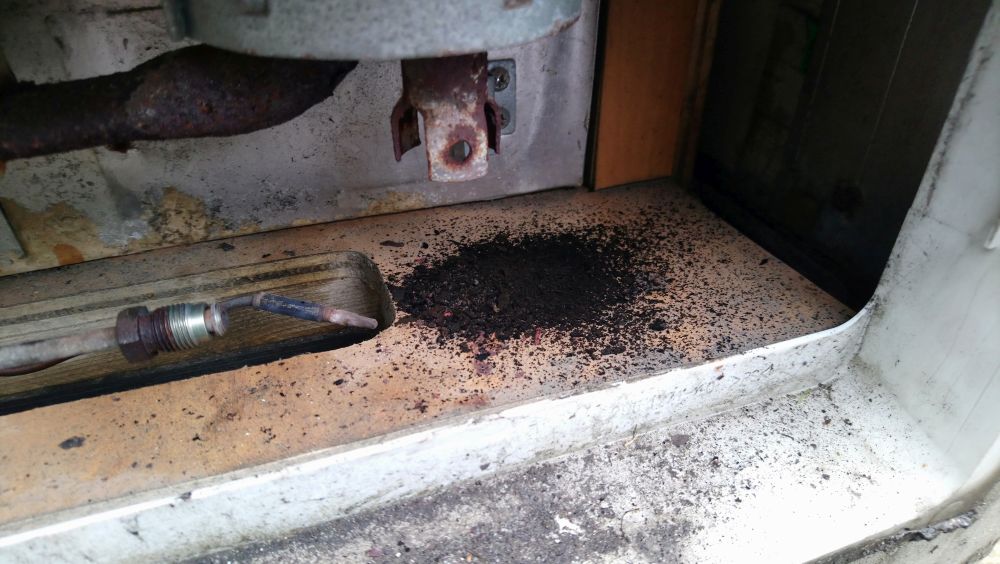
This was the result after sweeping out the flue – it’s only a small flue but you can see a lot of soot came out of it!
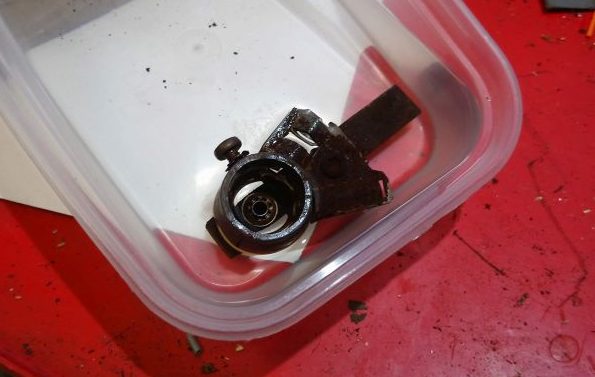
If there is any dirt build up on the burner it is a good idea to clean it up while it’s out. Here it is soaking in Acetone – brake cleaner or similar would also work well. Give it a blow out with a air gun and make sure it is completely dry before reassembly.
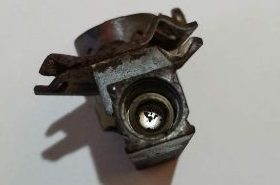
Here you can see the gas jet (which is just a metal disc with a tiny hole in it inserted into the end of the burner). As the jet is so small it is prone to getting blocked, you can see ours had some deposits on it. If required replacement jets are available online.
With everything back together you can test it out, with the fridge lit you should have a nice bright blue flame – a yellow flame indicates a lack of air and potential soot/carbon monoxide formation.
We were having issues with the flue gas smelling and soot formation on the top vent – having performed this service we got rid of these problems and got better cooling performance as well!
Found this information useful? – Want to support Motor-Roam?
Click here to find out how!
Note – the lower fridge vent is behind the rear bumper on some motorhome models – here is a post on removing the rear bumper for access on a 1999 Hymer B544

Leave a Reply