Siezed Steady Leg?
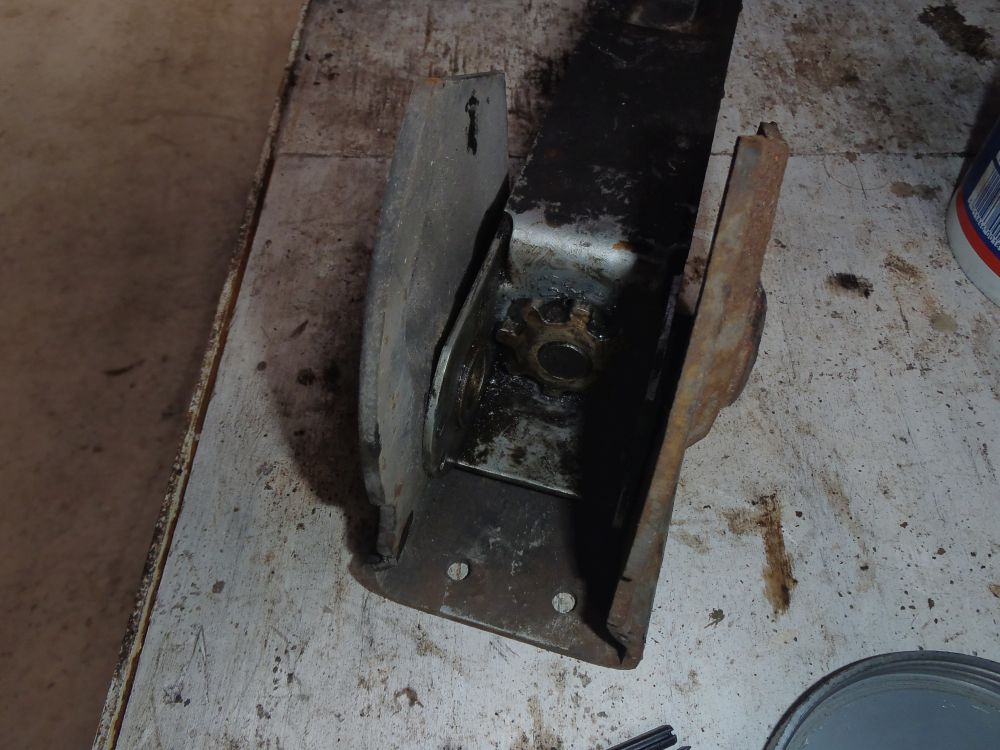
When we originally purchased our old Hymer B544 both rear steady legs were seized solid – I think they had been left unused in the up position for some time and water had got to them and rusted them up completely. I managed to free one of them with brute force and lots of penetrating lubricant but the other wouldn’t shift at all – here’s how I went about overhauling it:-
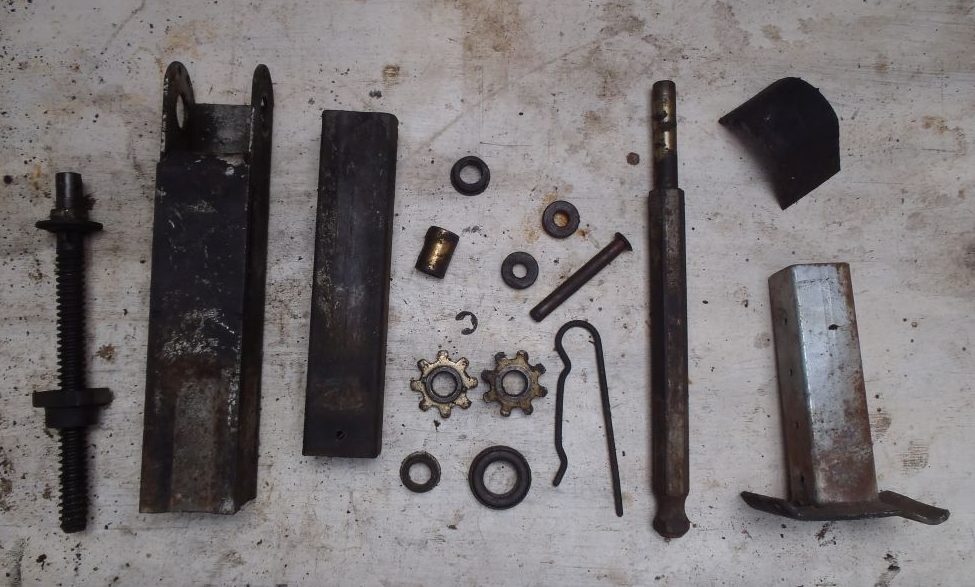
There mechanism in the top of the steady legs works with two small gears that are held on shafts with roll pins – using brute force to try and free the seized leg just sheared both roll pins!, there was no choice but to strip it down completely to sort in out. Once it was all dismantled this was the pile of parts I was left with, just a matter of reassembling the jigsaw…….
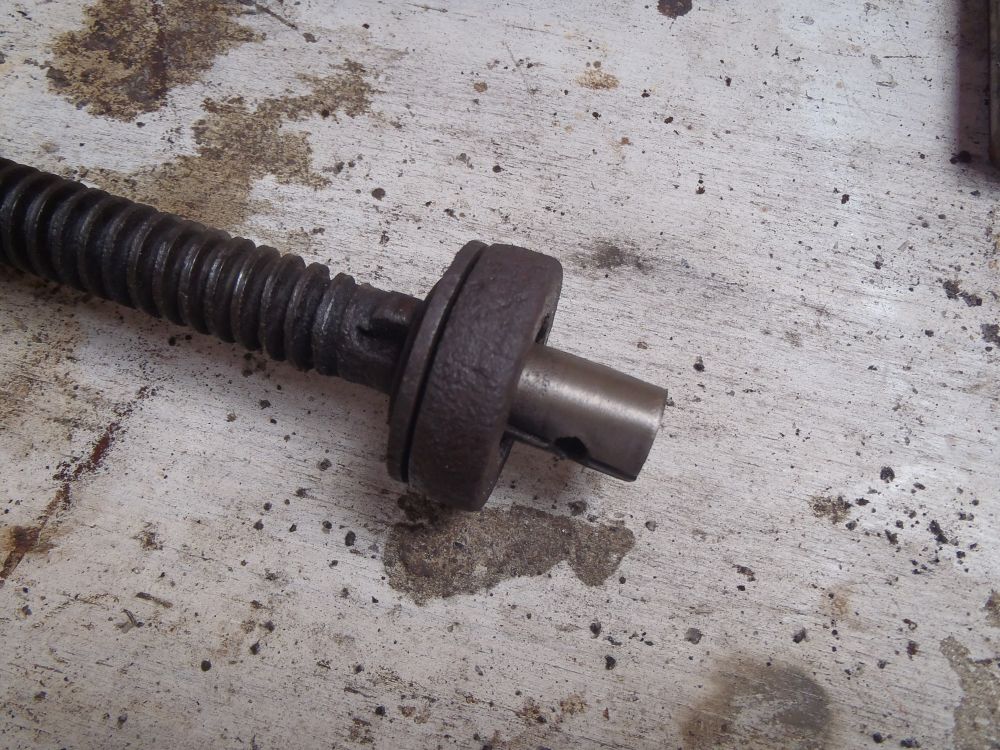
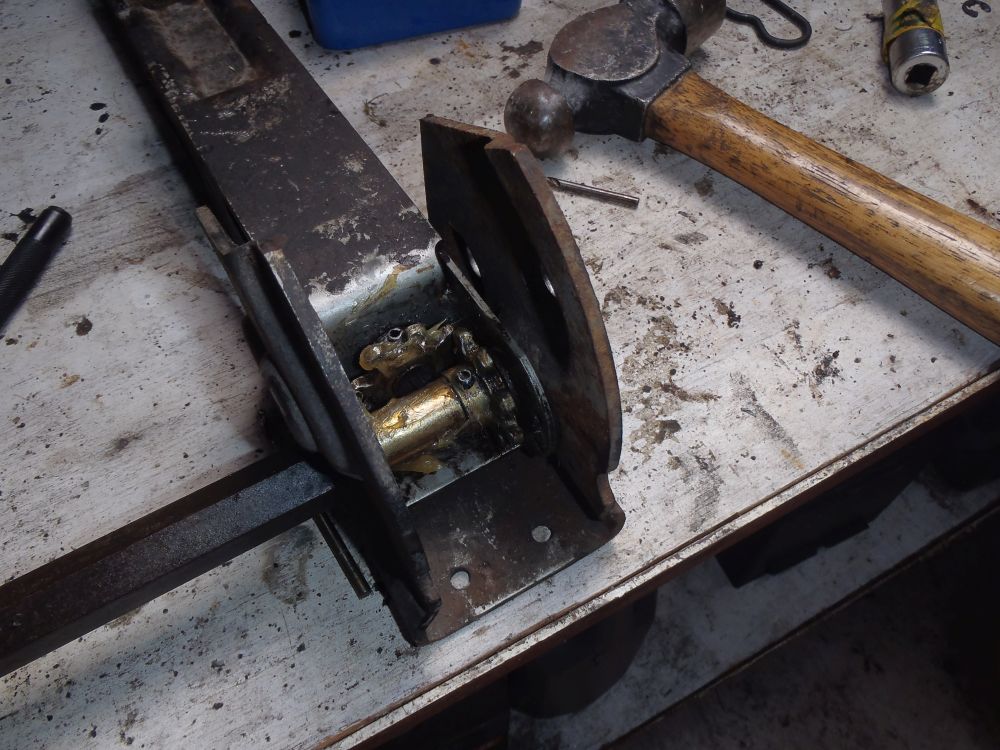
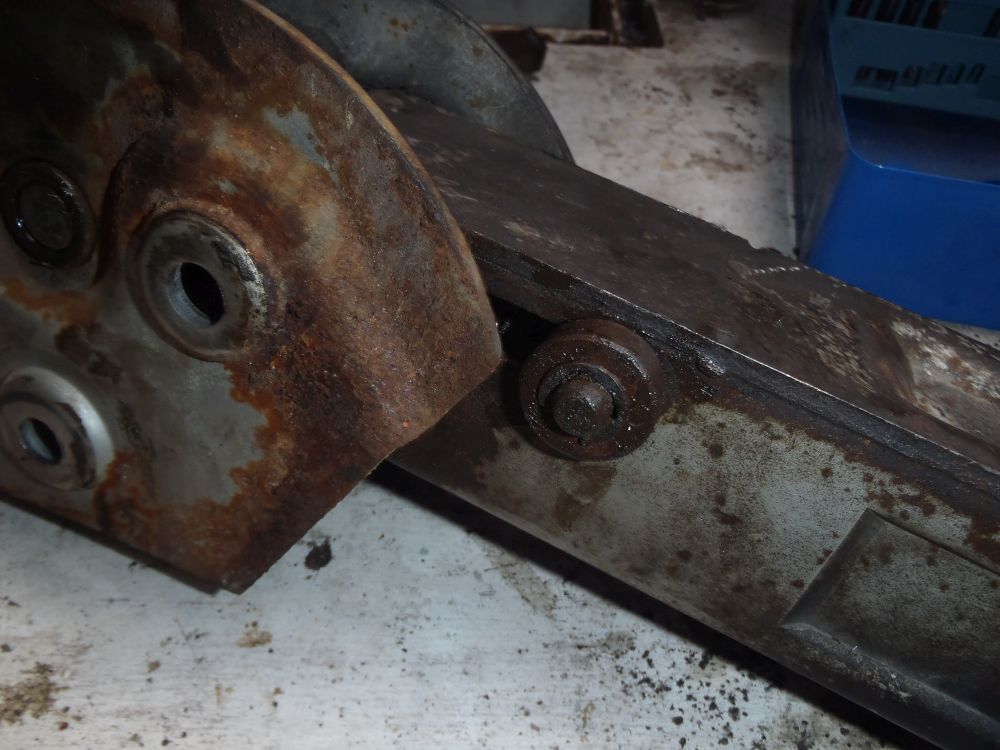
The main problem was the threaded shaft on the left of the picture above. The nut that runs on the shaft and extends the leg was solidly rusted onto the shaft. To free it off I held the shaft in a vise and heated the nut up with a blow torch until it was red hot, then using a pair of vice grips I could turn the shaft and free it off. Then is was just a case of greasing the threads and running it up and down them a few times to clean them off.
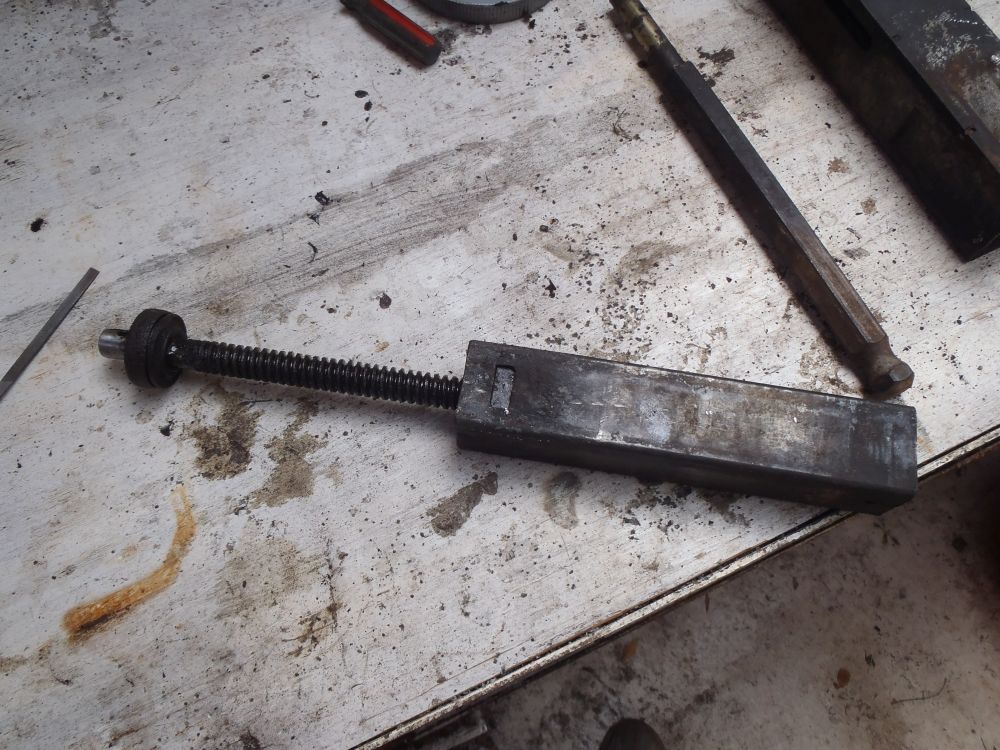
The next job was to remove the remains of the old sheared-off roll pins by driving them out with a pin-punch so they could be replaced. Here is the input shaft in the vice:-
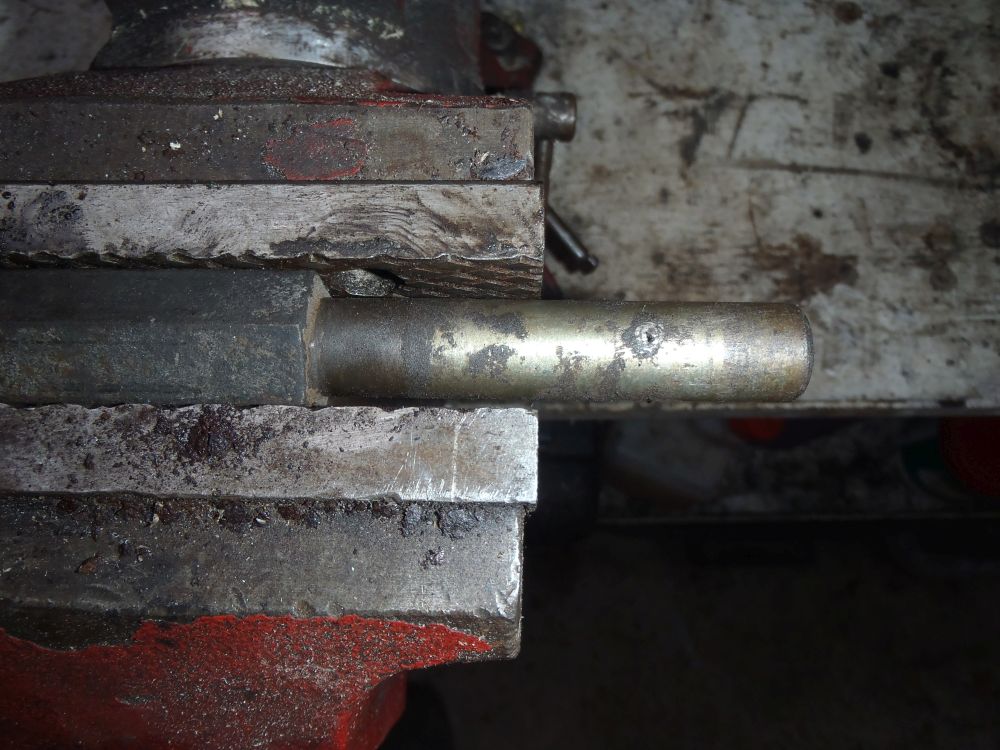
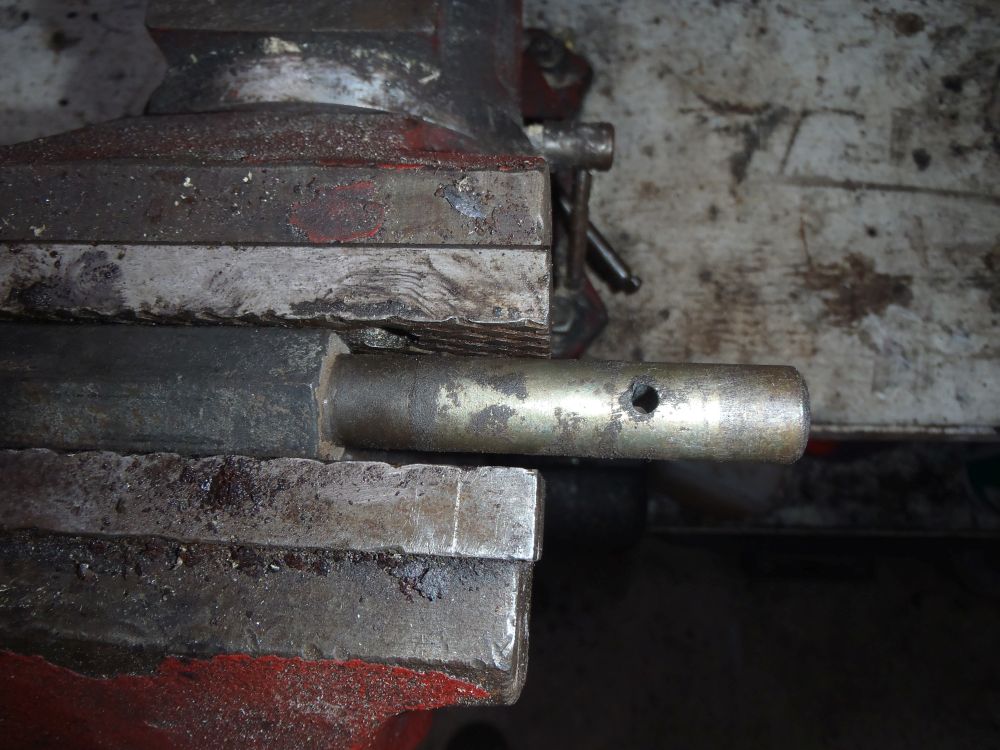
And with the roll pin remains removed:-
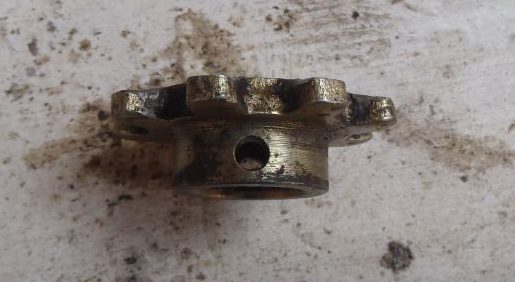
The same process was repeated with the gear:-
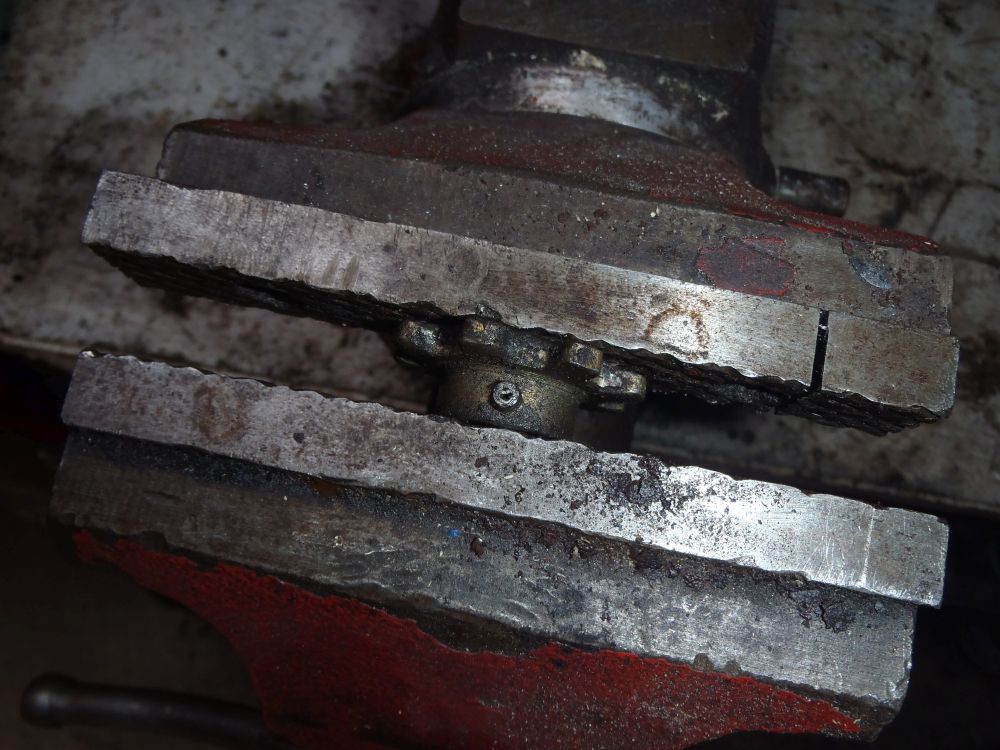
Roll pin remains removed:-
The same process was repeated with the threaded shaft and the gear that attaches to the top of that, I don’t have any photos of that but you get the idea…..
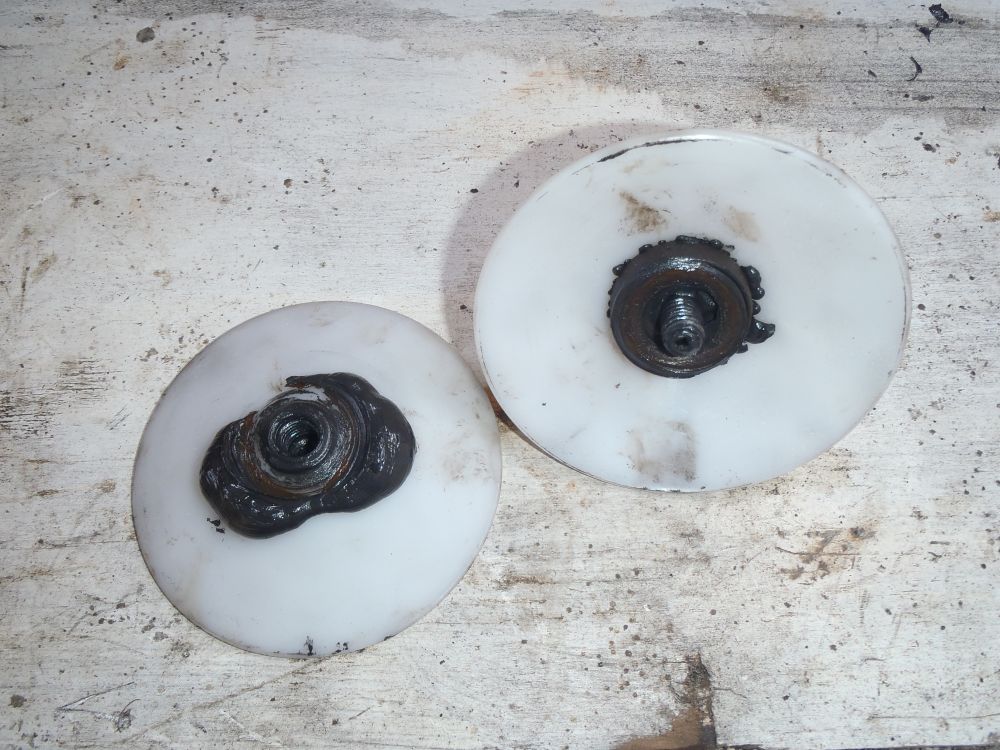
The bearing from the top of the threaded shaft was dry and rusty, I used a bearing packer to force it full of fresh moly grease. If you don’t have a bearing packing it’s not the end of the world as the loadings aren’t very high and it doesn’t need to handle any speed so probably would have been fine left dry, but and sort of lube you can get in there will help it’s longevity and make the legs smoother & easier to use :-
Here is the bearing back on the threaded shaft:-
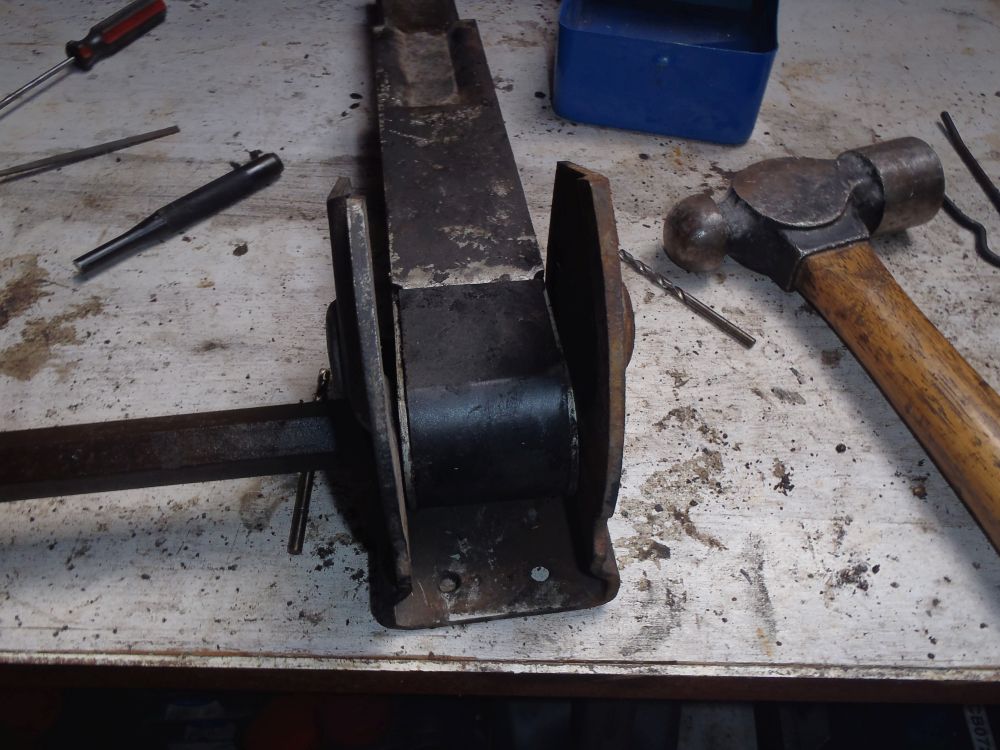
Next step is to refit the threaded shaft to the lower section of the leg, This is just a case of sliding the square nut in and hammering the tabs in to hold it in place (you will have had to bend the tabs out to get it out in the first place):-
You can then refit the threaded shaft and low leg back into the main leg ready to refit it’s gear, here is the lower section back in with the gear in place:-
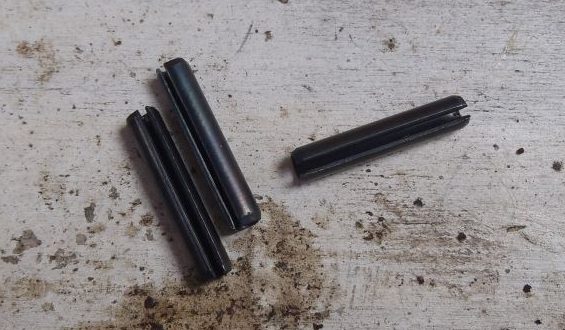
These are the roll pins I got from a local agricultural engineering place to replace the broken ones, I could only get slightly larger pins which meant I had to drill out the holes to a larger size, but if you can get the right size pins you shouldn’t need to do this!:-
Next is the drive shaft with it’s bushings, spacer and gear, with the roll pin hammered into place to hold the gear:-
A bit of grease on the gears and the plastic cover can be refitted to protect them:-
Last job is to refit the small shaft with two rollers that make the leg fold away as it is wound in. This is held in place with a small e-clip:-
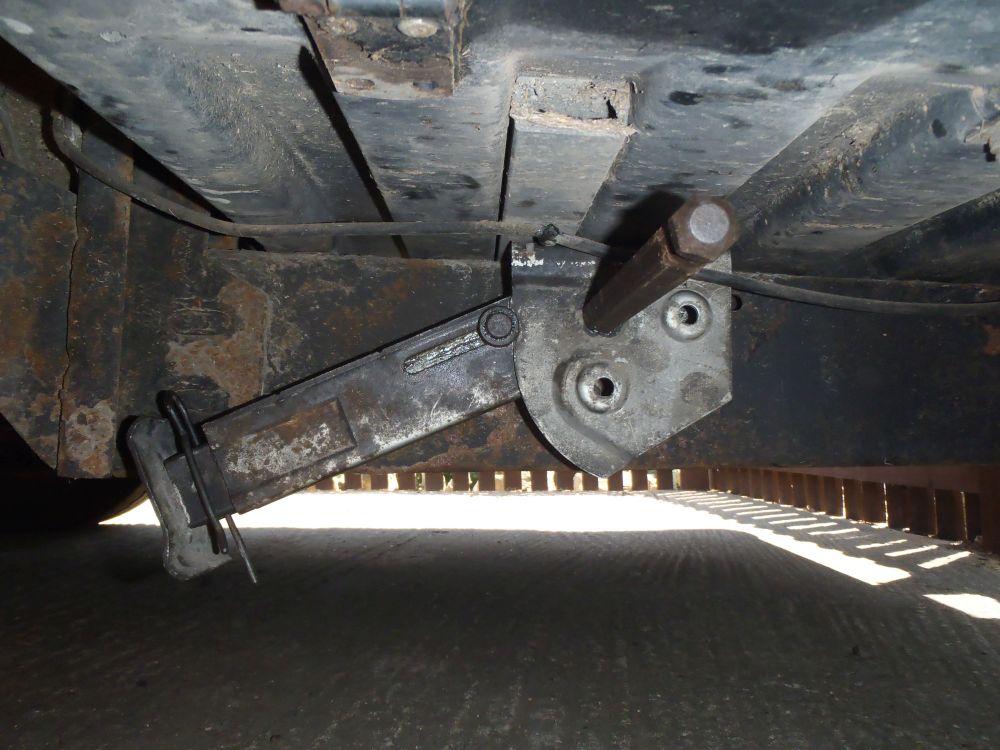
All done, here is the whole assembly back on the bus and working just like new!:-
Hope this helps if you find yourself in the same situation, and questions let me know in the comments below……..

November 3, 2025 at 2:26 pm
That’s a great write up, thanks.
You don’t happen to know the model number of the steady leg by any chance please? I’m looking to get a replacement gear (the one that sits on top of the vertical bar) but finding it hard to source stuff due to the the age of the motorhome.
November 3, 2025 at 6:45 pm
Hi Mark – thanks for the comment. I’m afraid I don’t know the model number, when I did the rebuild (about 7 years ago now!) I looked for information on them but couldn’t really find anything. I don’t think I ever even confirmed the manufacturer……
January 5, 2026 at 8:57 pm
Thanks for the reply Dan,
I’ll keep an eye out on eBay…